"MICROBUSA"
May 9th
21:00 just completed gearbox mkII and testrun.
All internals from the first gearbox, the selector arms, forks, and guides were re-used exept i made oil seald entrance pieces for the sliding bars of the selectors so the gears can run in an oil bath.
Its not quite right, to much slack in the selectors but it works fine just need to fine tune it.
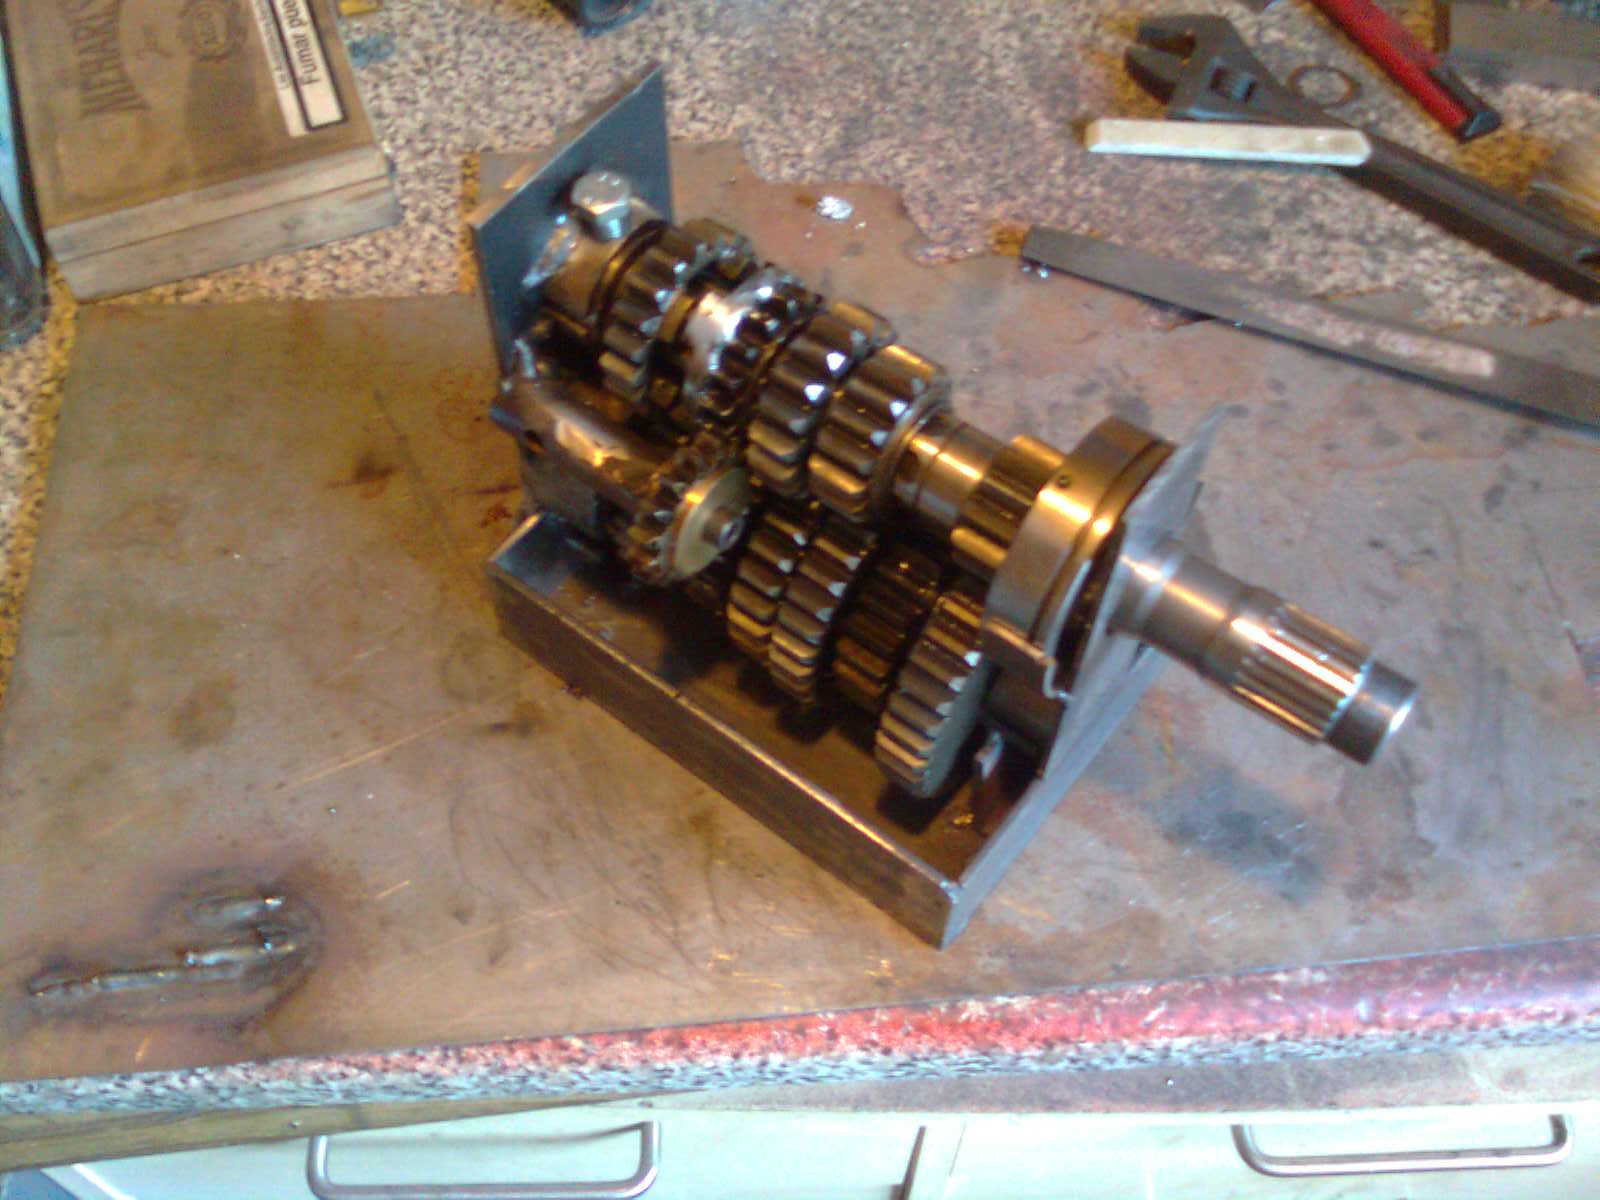
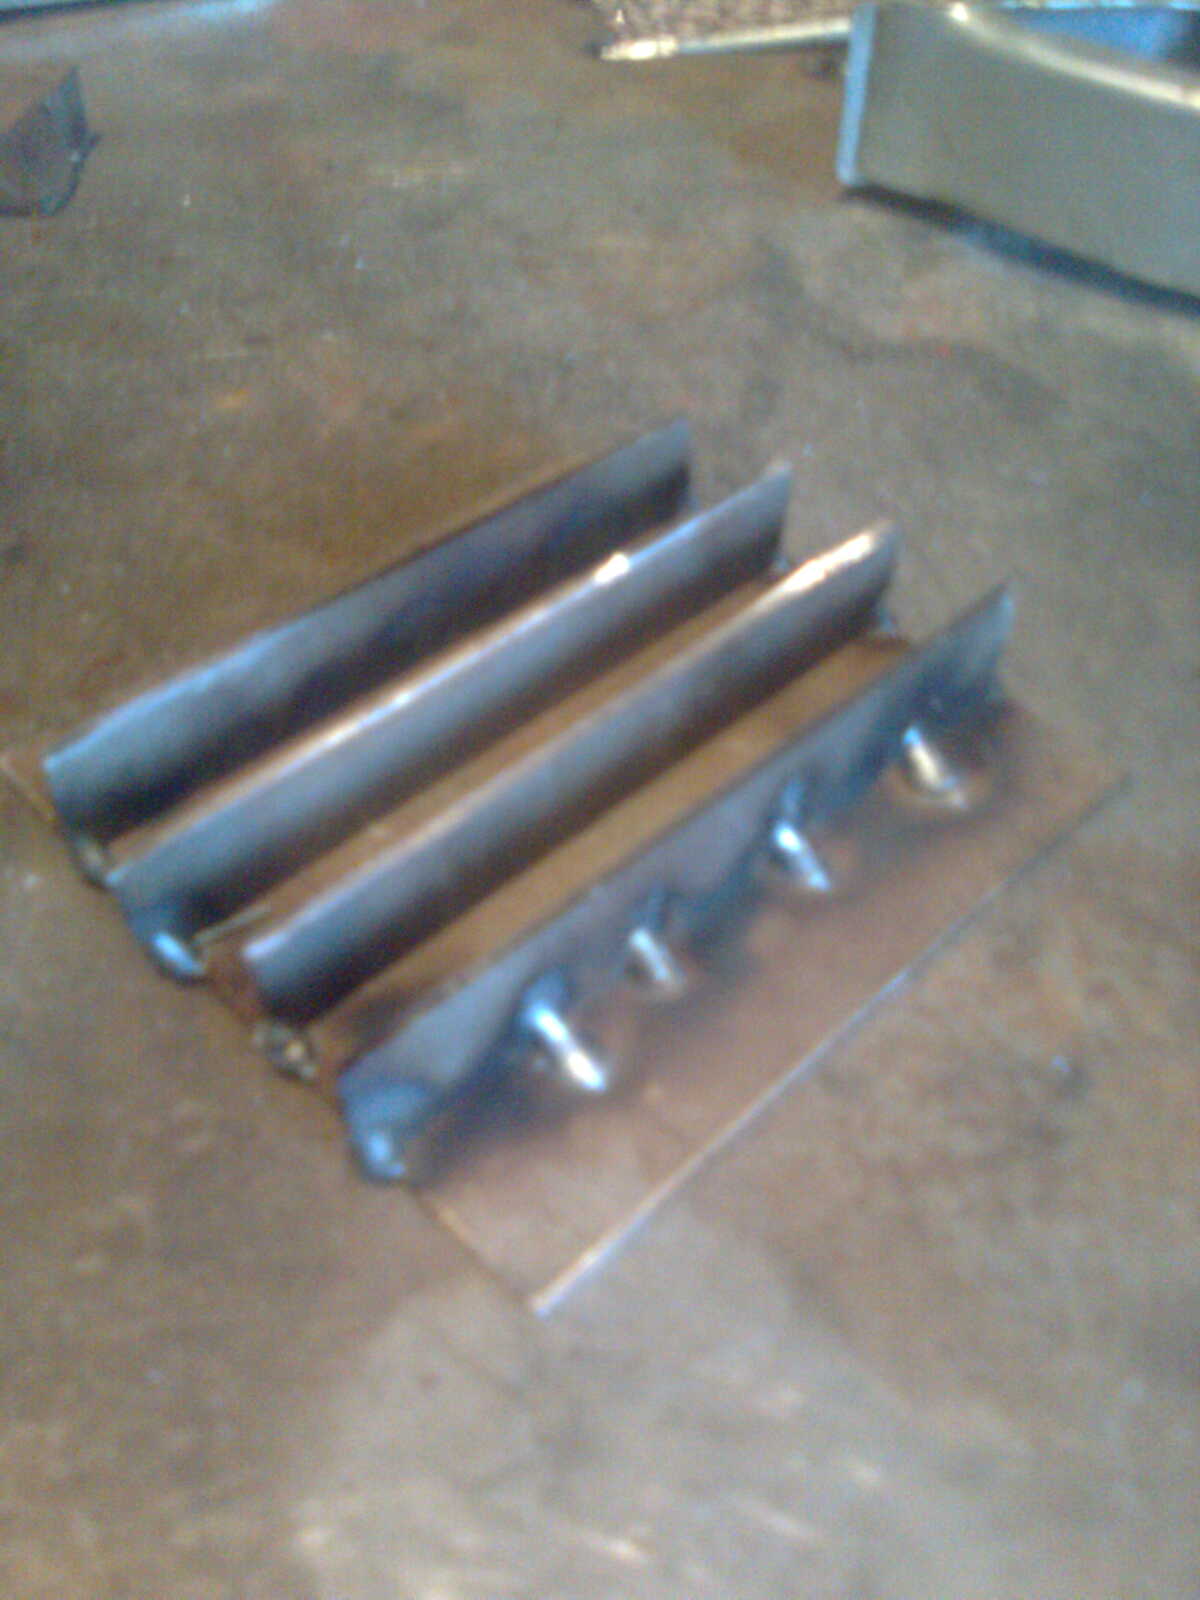
above, new gearbox casing made from 3mm steel plate.
The reverse idler gear can allso be seen.
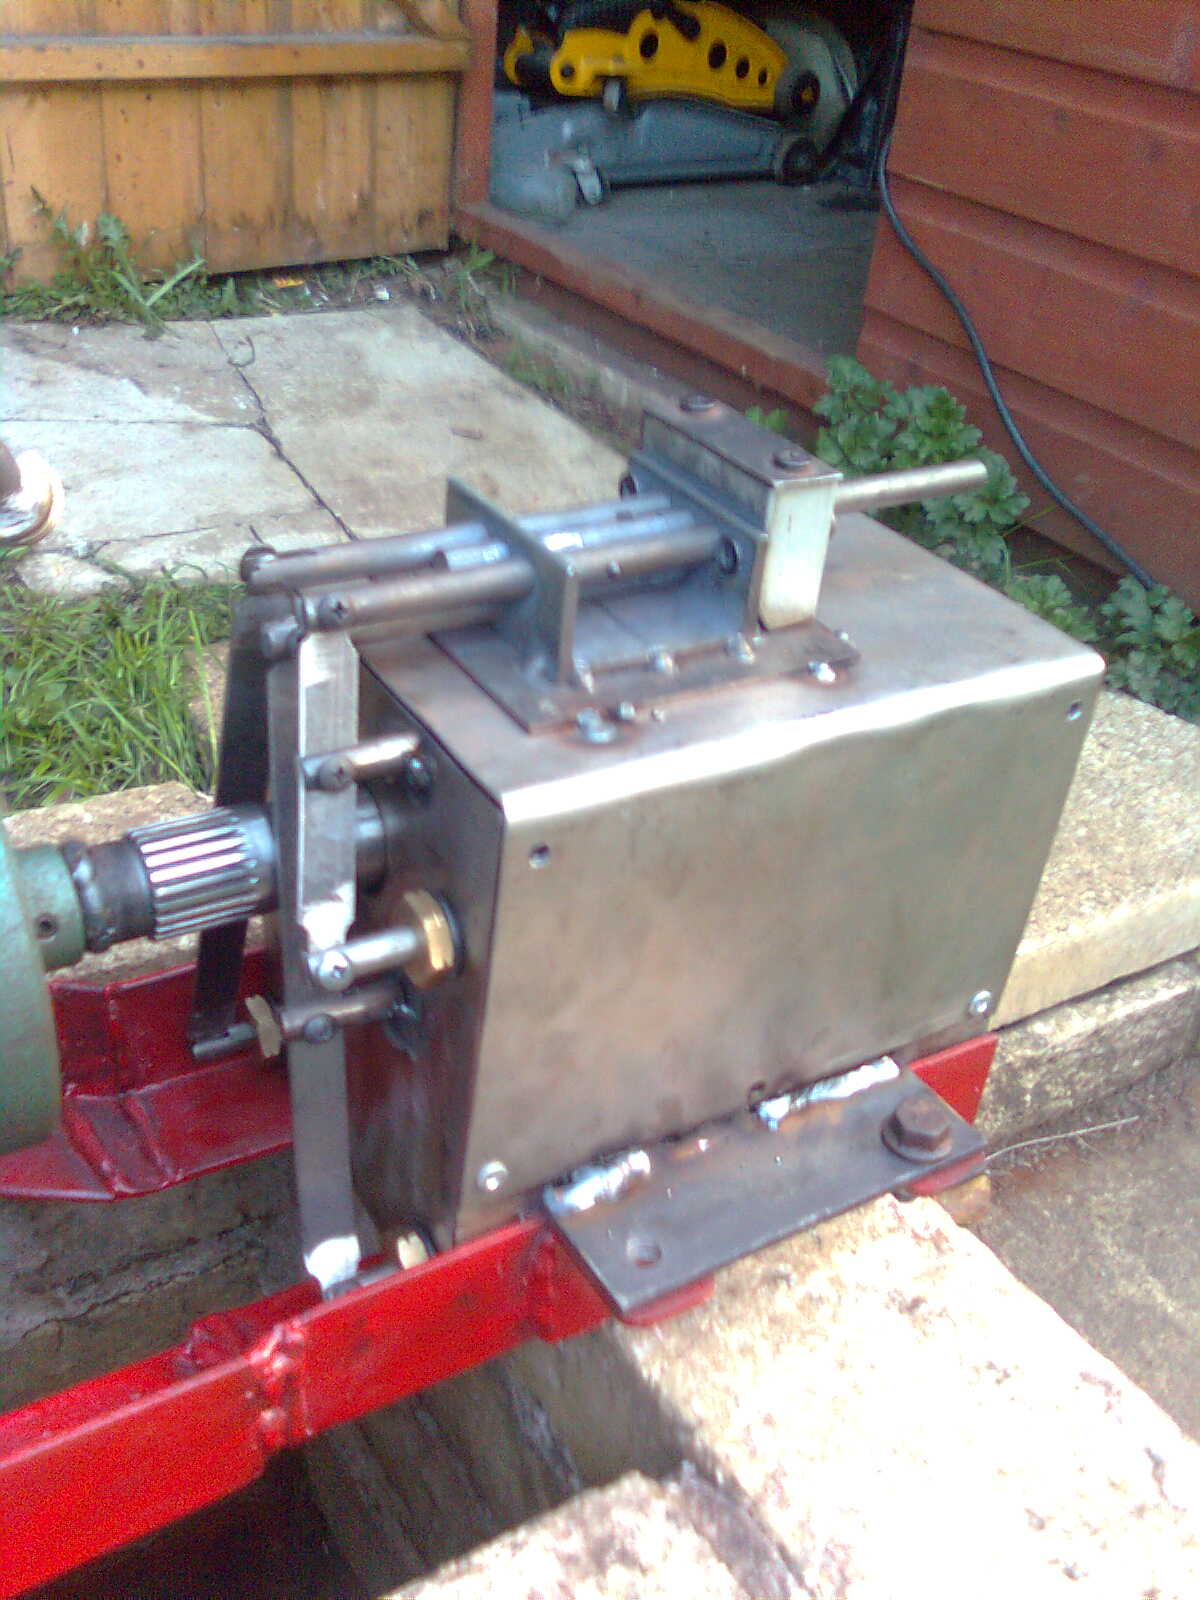
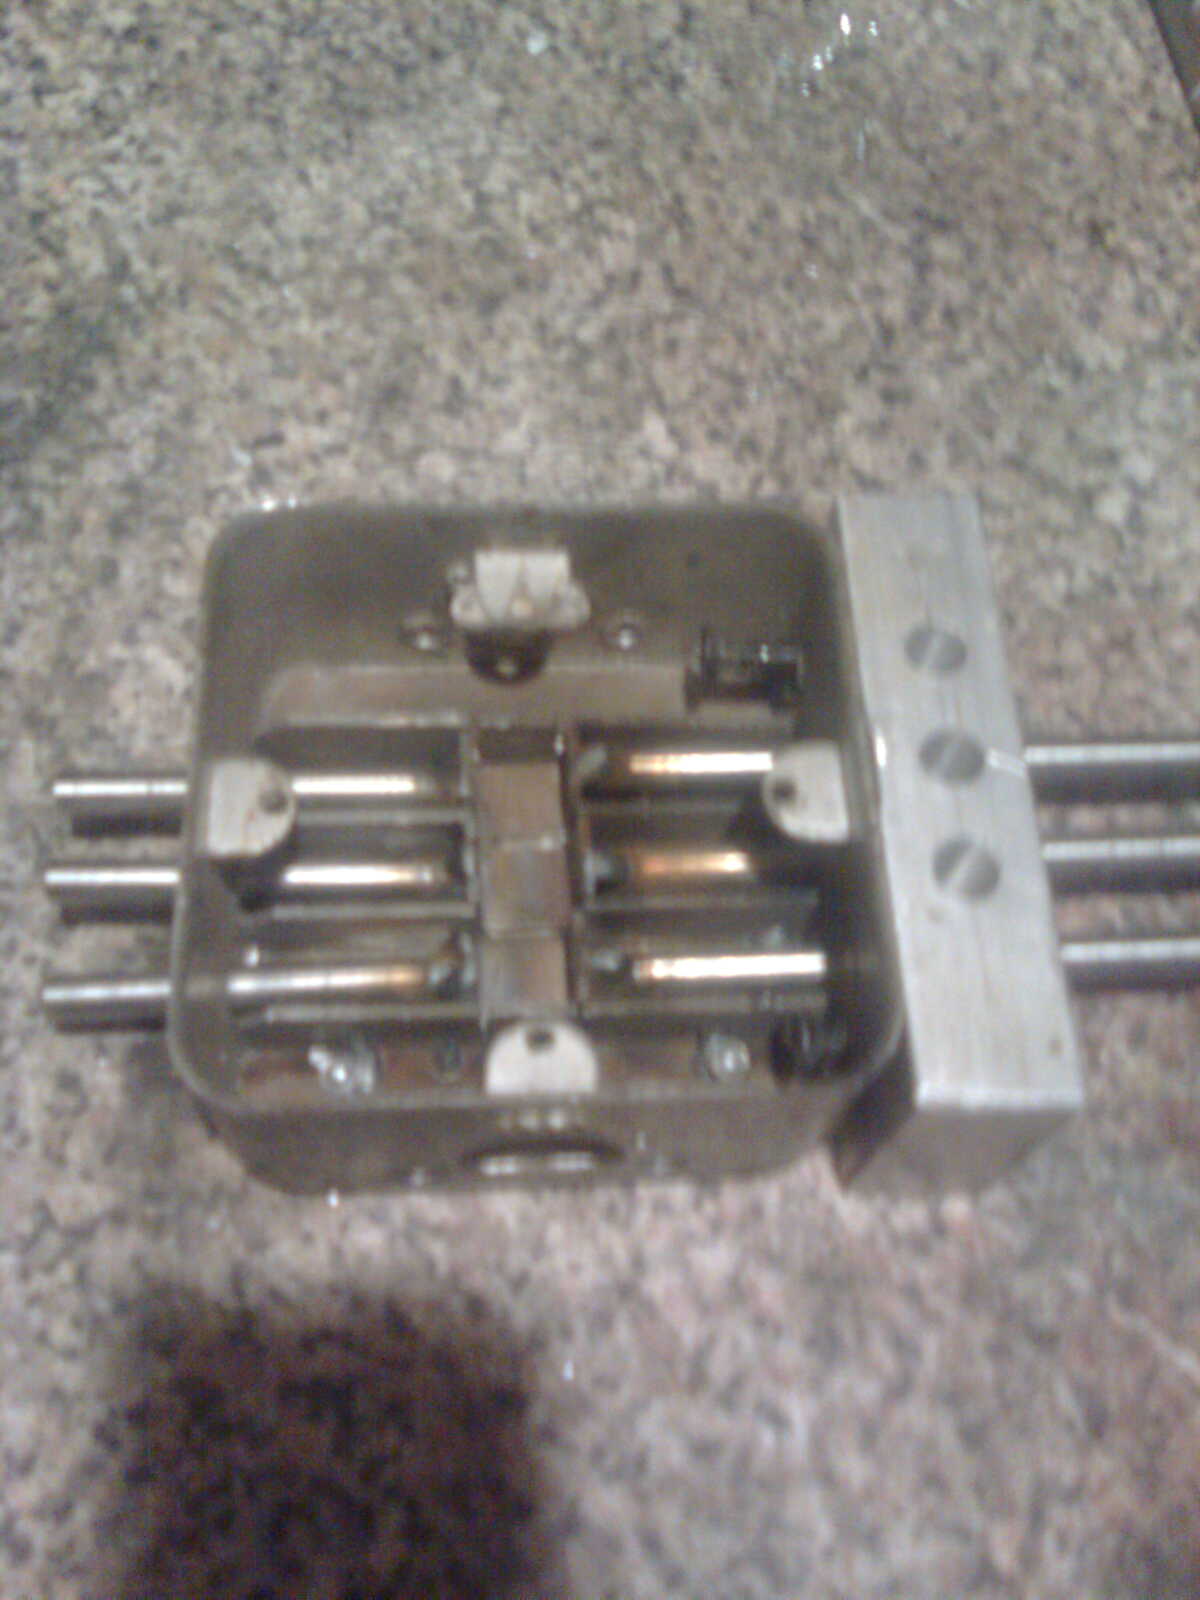
Above, end view of gearbox showing selector mechanism conections
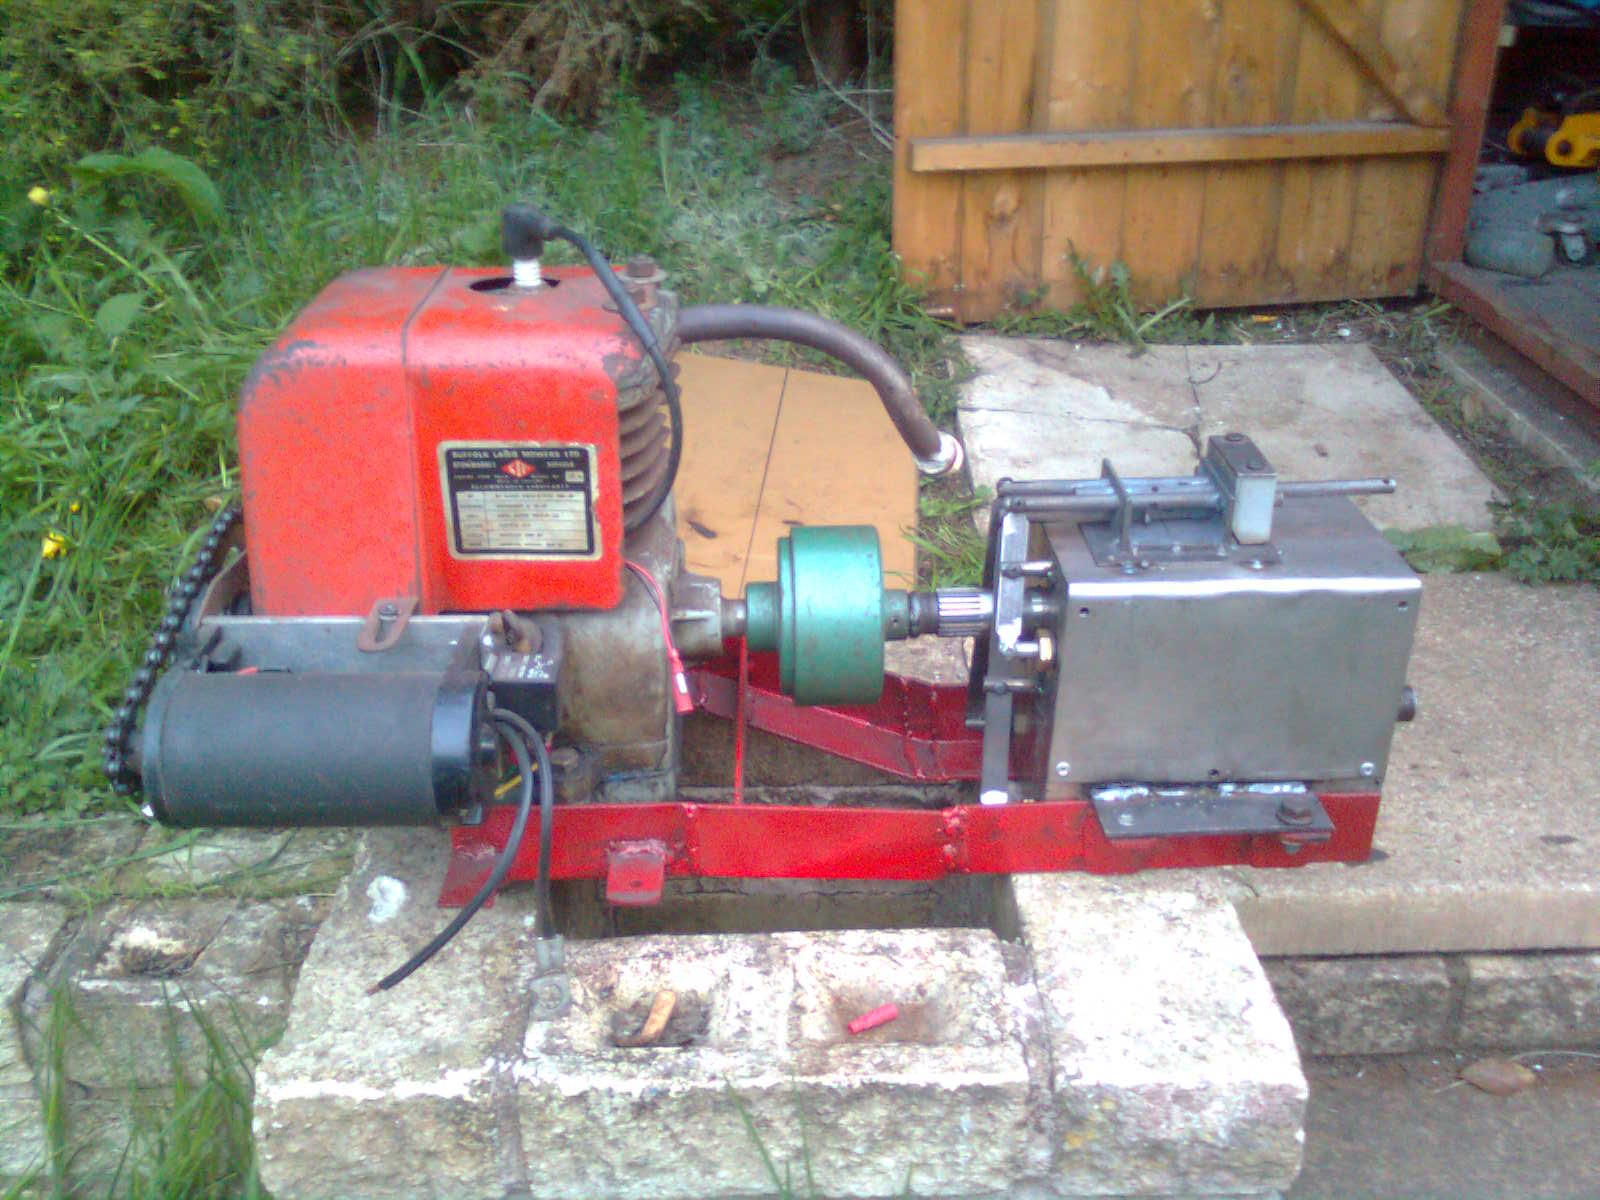
Above, engine and gearbox mated together on subframe just before test run.
I will try and find a way of putting better quality video clips on here.
13 May
time to make the gearstick
i found a metal light fitting back that would be just the job to hold the gearstick componants.
took the ball out of a mouse cut of the rubber coating.
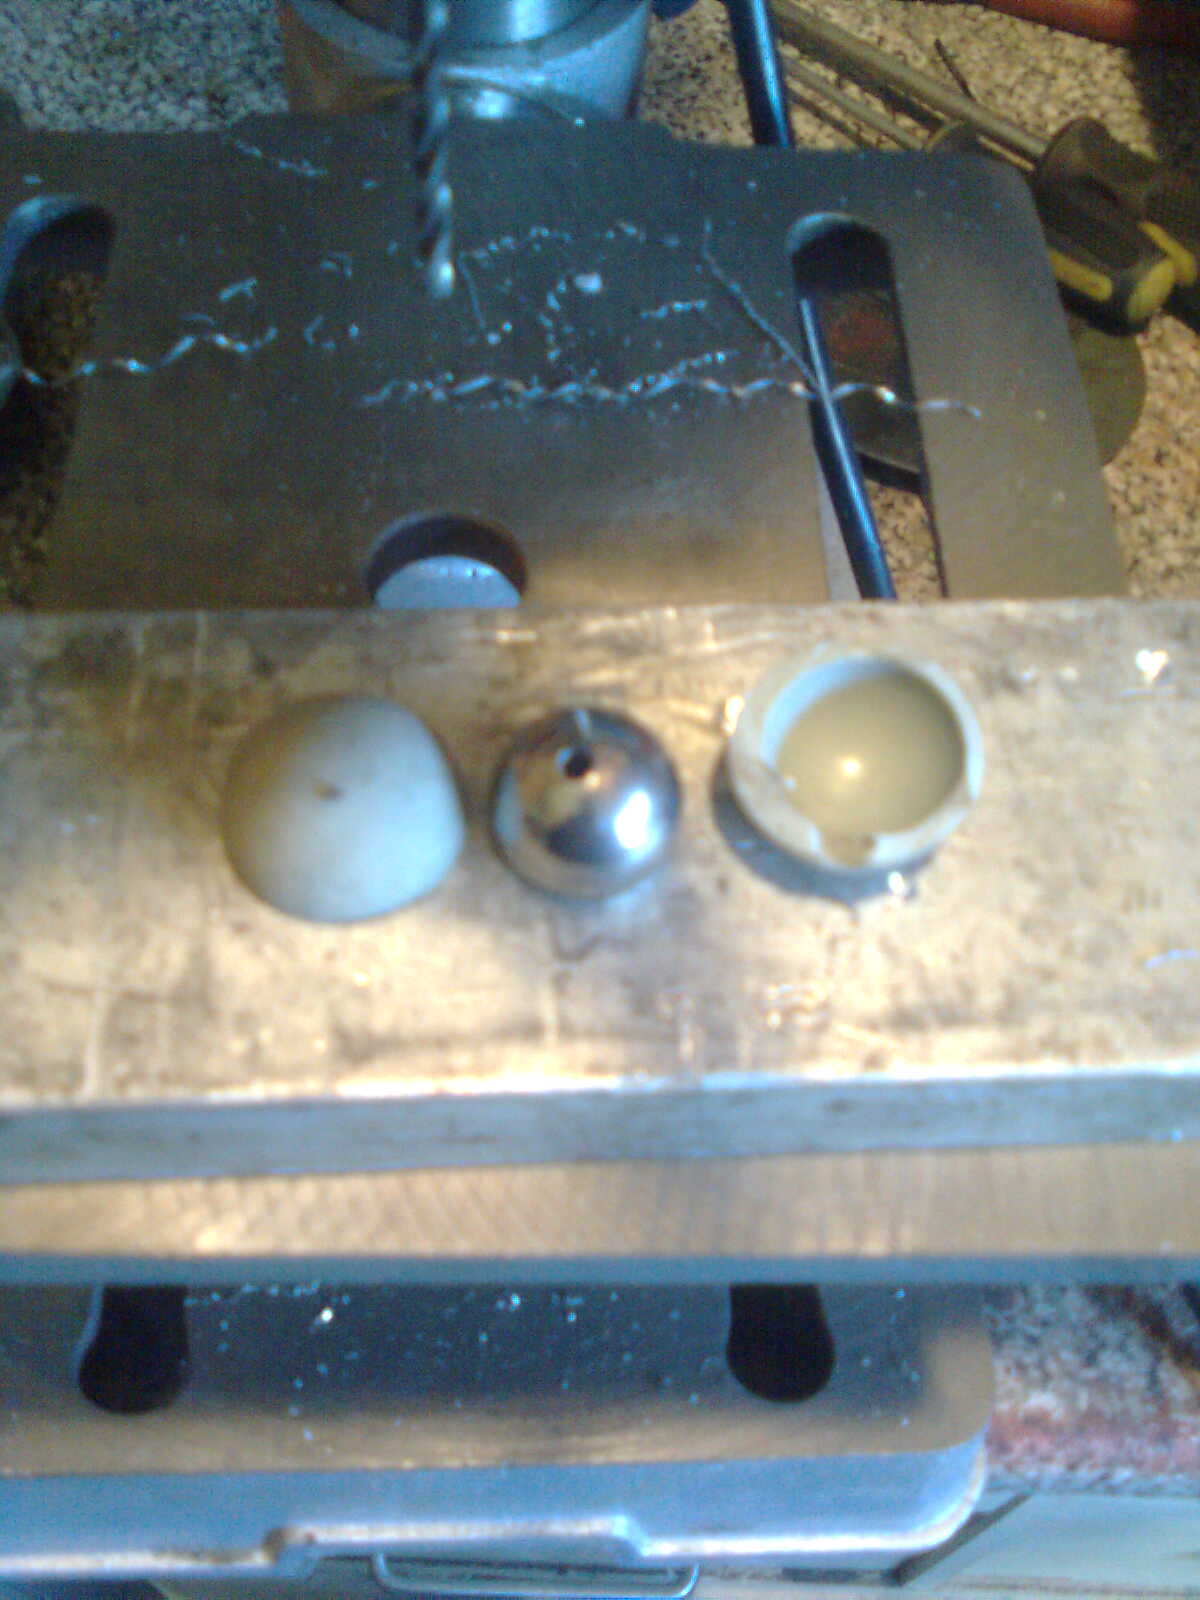
yes i now have a small bench drill :-)
drilled a 3mm pilot hole through the ball then enlarged it to 7 mm and tapped it to m8.
then i got a piece of grey guttering and heated it with a hot air paint stripping gun till it was soft flatened it out and cut into 2.
sandwiched the ball between the 2 halfs a put cutting disk either side and squeezed together.
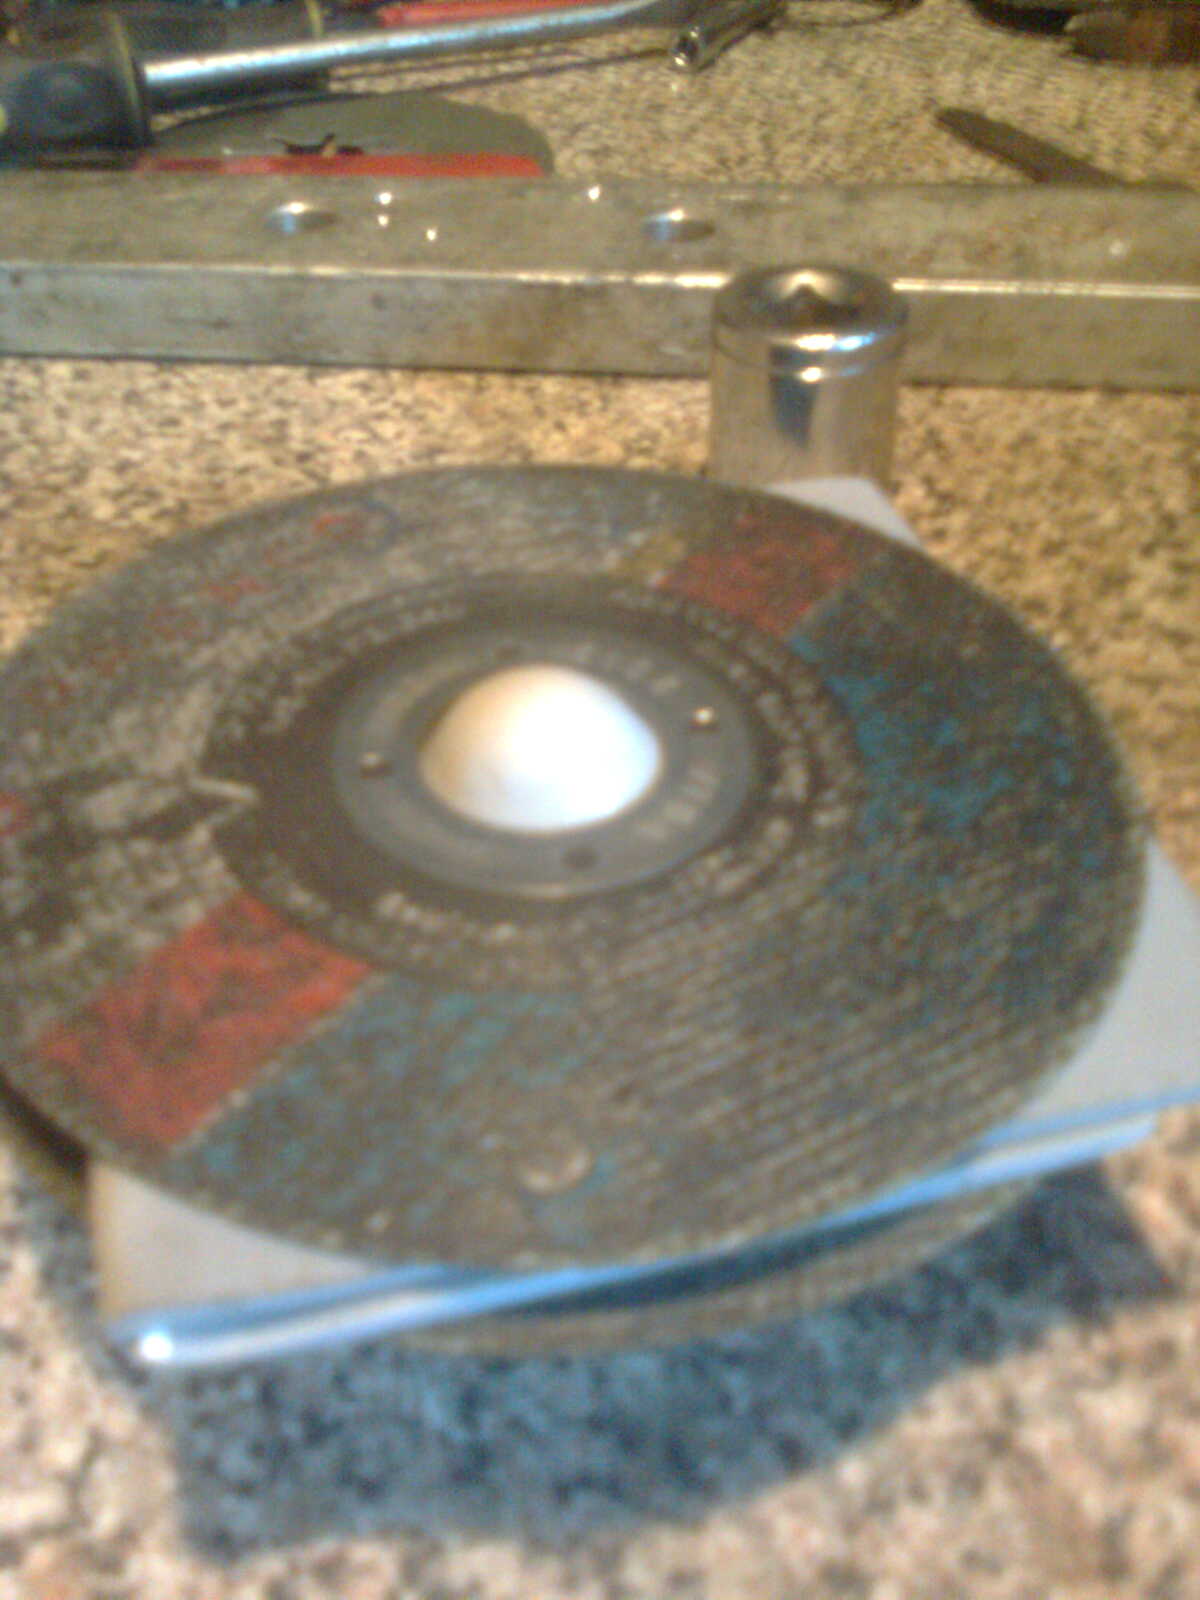
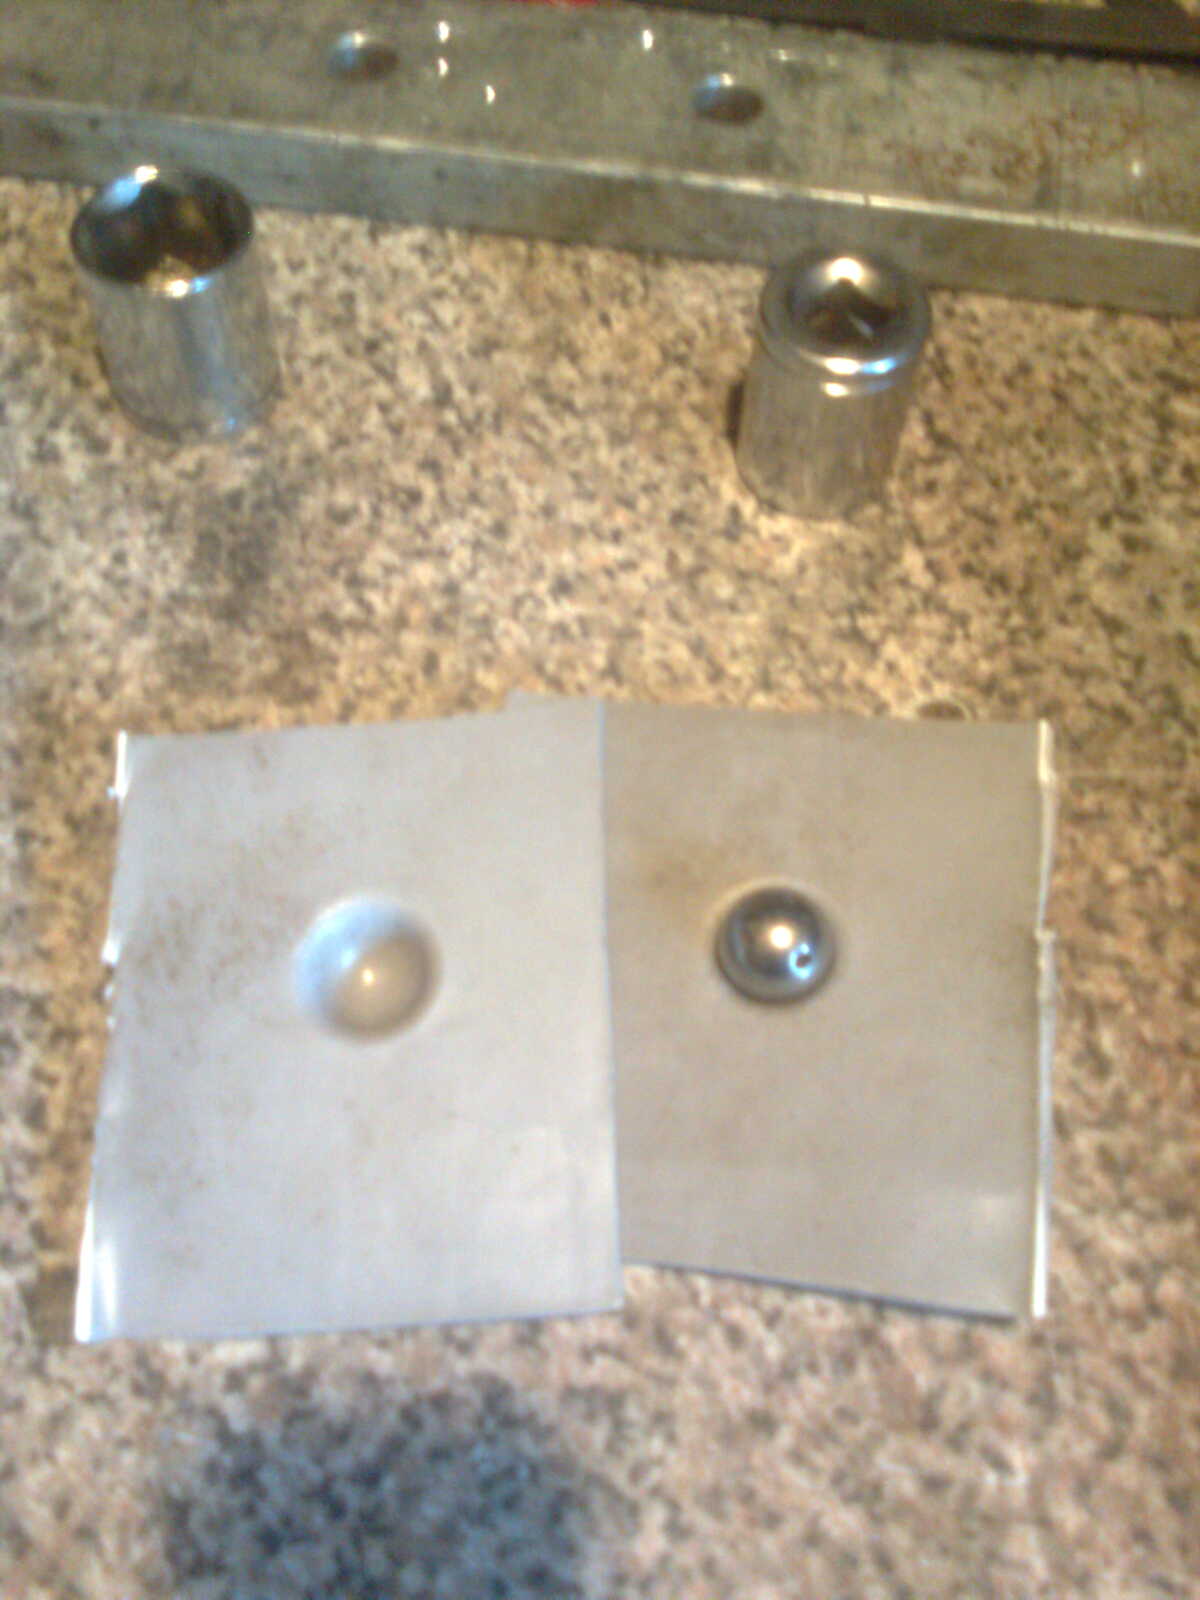
then put a socket over each half of the pertruding plastic and clamped in vice to cool.
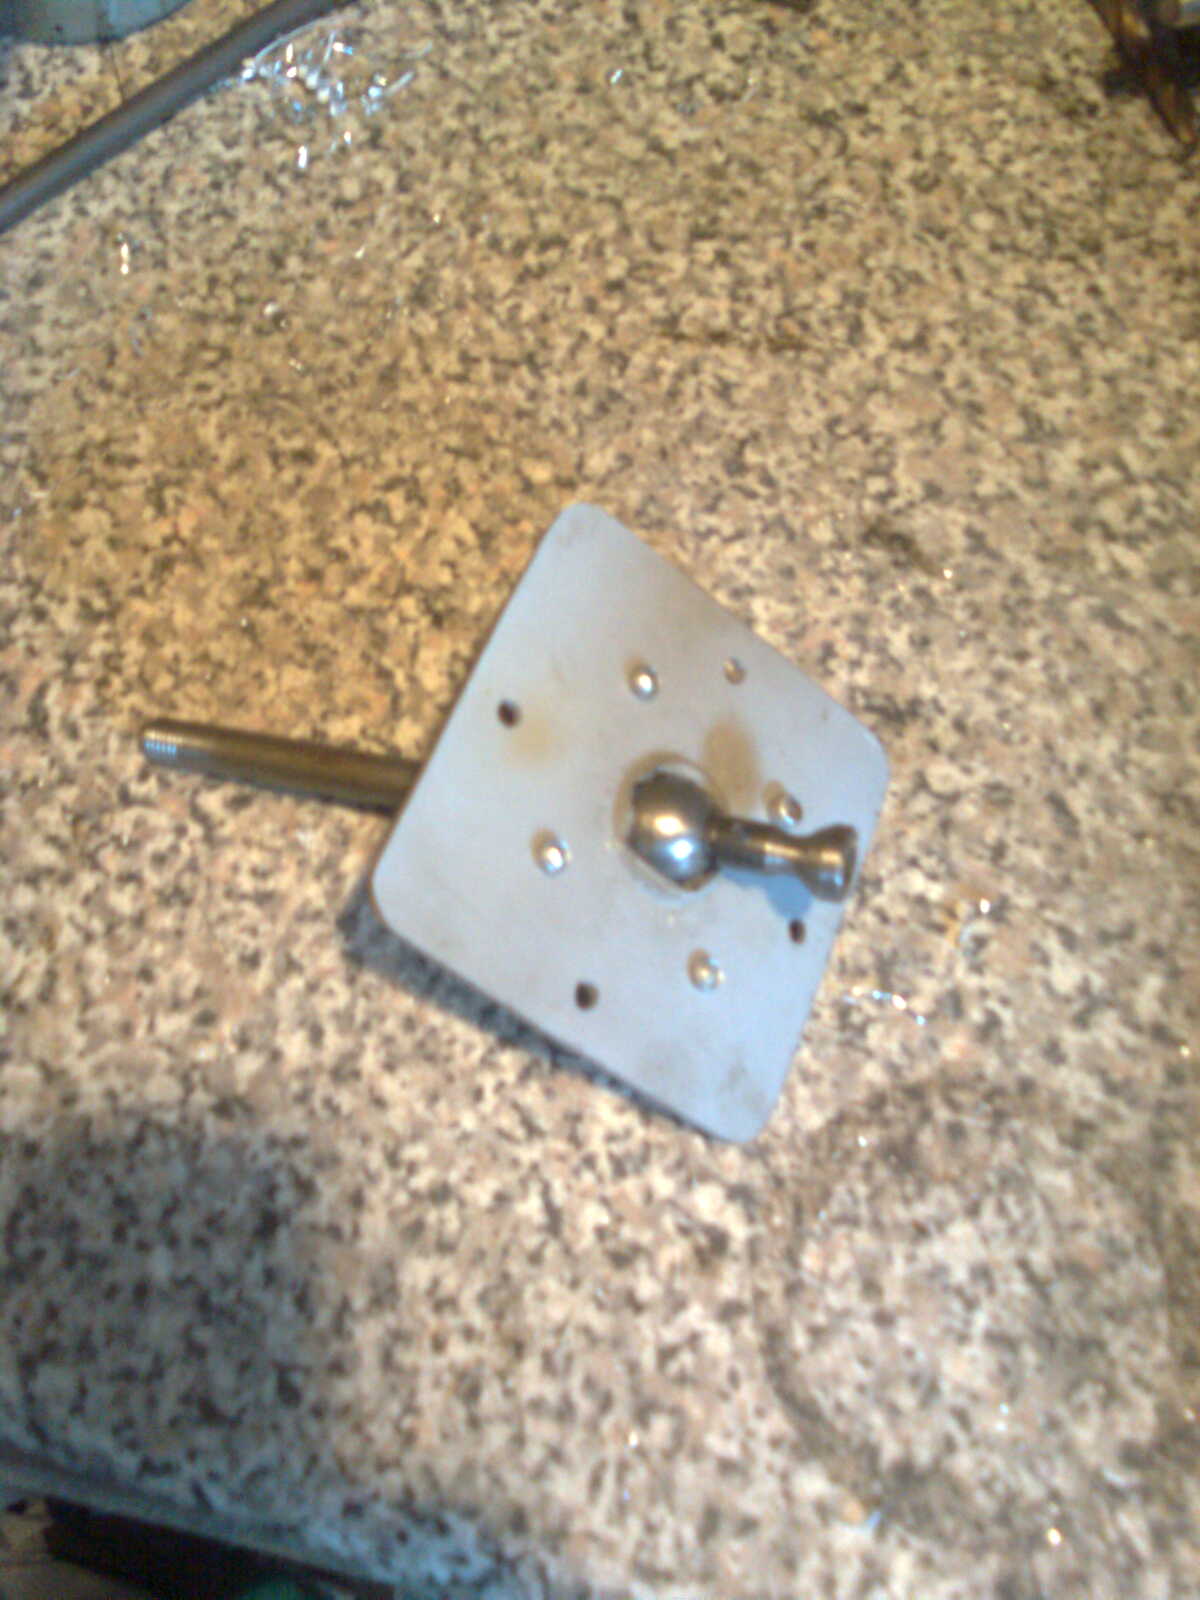
i then drilled through the plastic to allow the stick(shifter) part to be inserted through the ball. cut the plastic down to size to fit into the light socket steel backing.
then i used an 5" legnth of steel bar and threaded the end to m8. screwed it half way in and loctited into the ball. in the other end of the ball i loctited a m8 allen bolt which i had ground the corners off. offered the two plastic parts together drilled and riveted to secure.
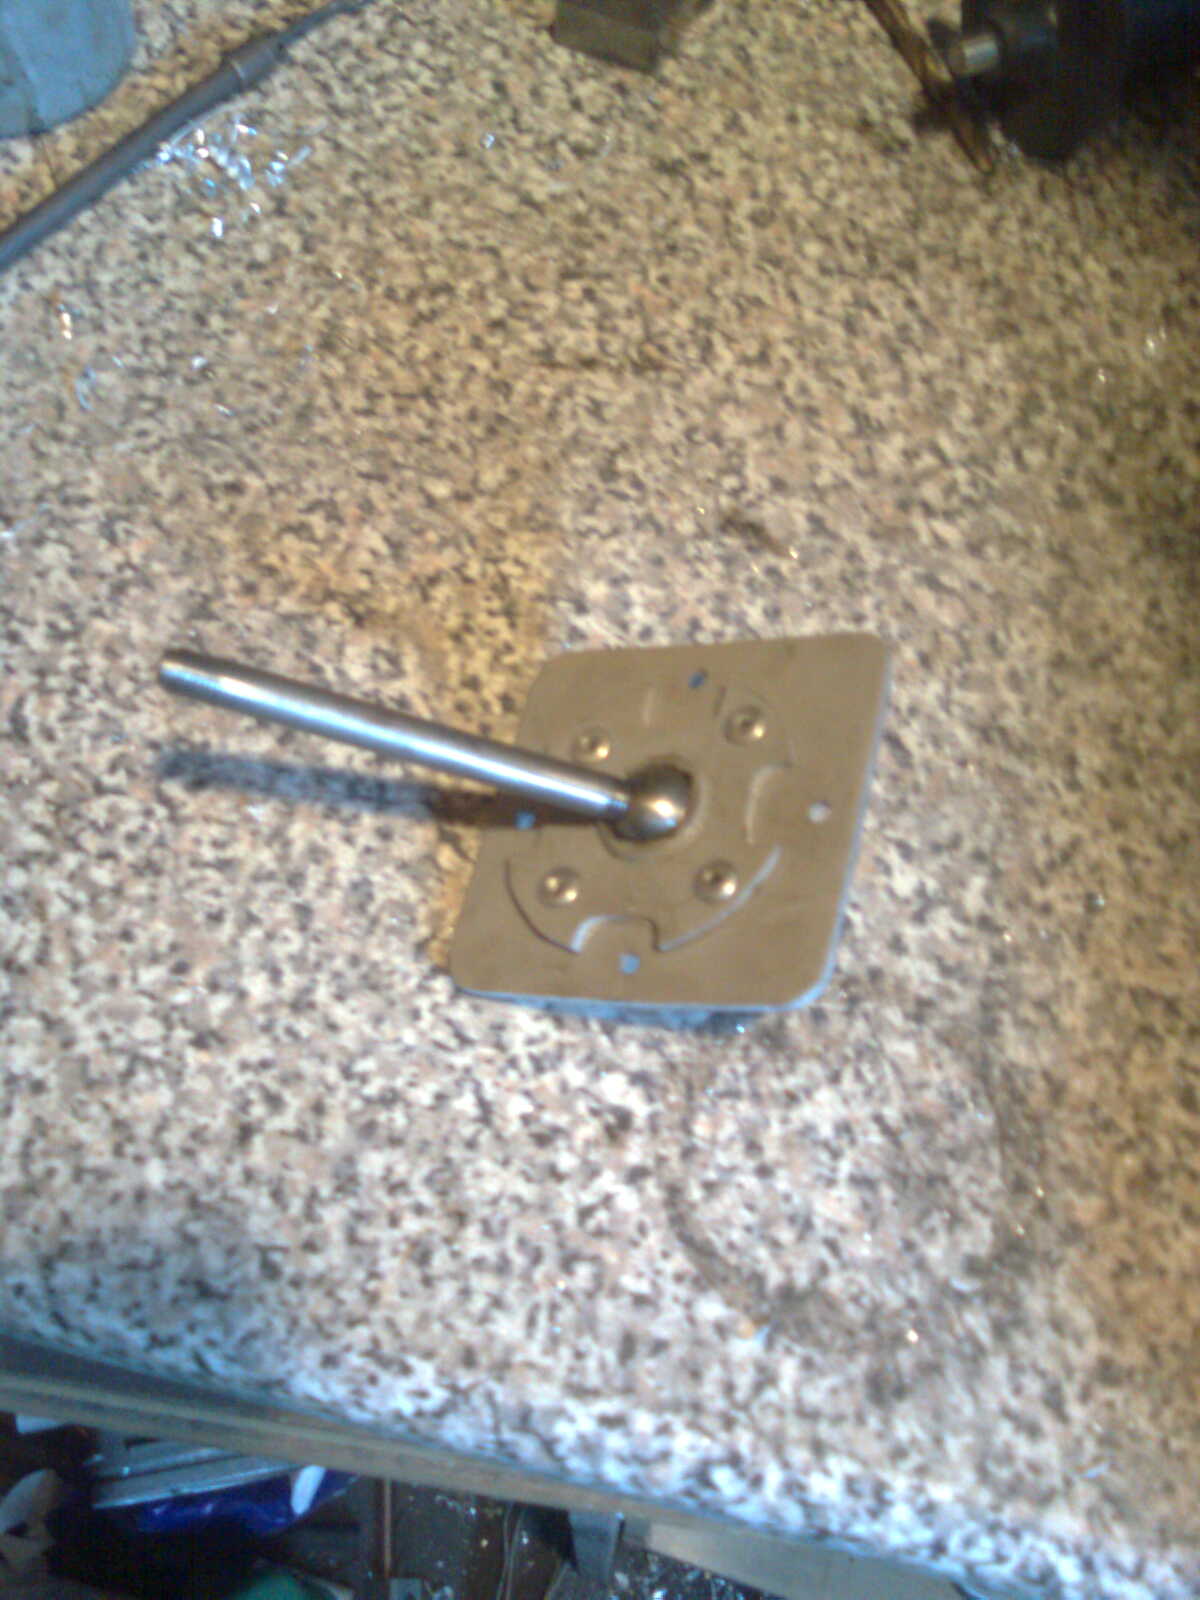 |  |
looks a bit like an old naked atari joystick lol.
next i made the guides.
the middle two were cut accross the middle to allow movement from side to side (neutral) then i used some more steel bar to connect to the gearbox selector mechanism with a u shape piece welded in for the shifter bar to locate in. The aluminium block on the side was taken off the top of the gearbox and used here instead the bit that holds the balls and springs to keep the gears in nutral.
18th May
The gearstick was fitted into the casing and a piece of steel tube with a braket on the end to hold the complete gearstick assembly was welded to the end of the gearbox

Nearly finished just need to make something to hold the gearstick central when in neutral and the gaskets to seal the gearbox and finaly a coat of paint.
will hopefully be test running it this weekend 23rd or 24th may.
WATCH THIS SPACE.