"MICROBUSA"
7th December 2008
A few modifications would be needed as the
chassis had been built as a single seater my build was to be a two seater and as
close as possible to the real car.
Not bad for twenty something years in a back garden!
First the chassis needed to be widened by
eight inches to make enough room for two seats and the prop shaft tunnel, out
comes the angle grinder and some rather good 1mm slitting discs.
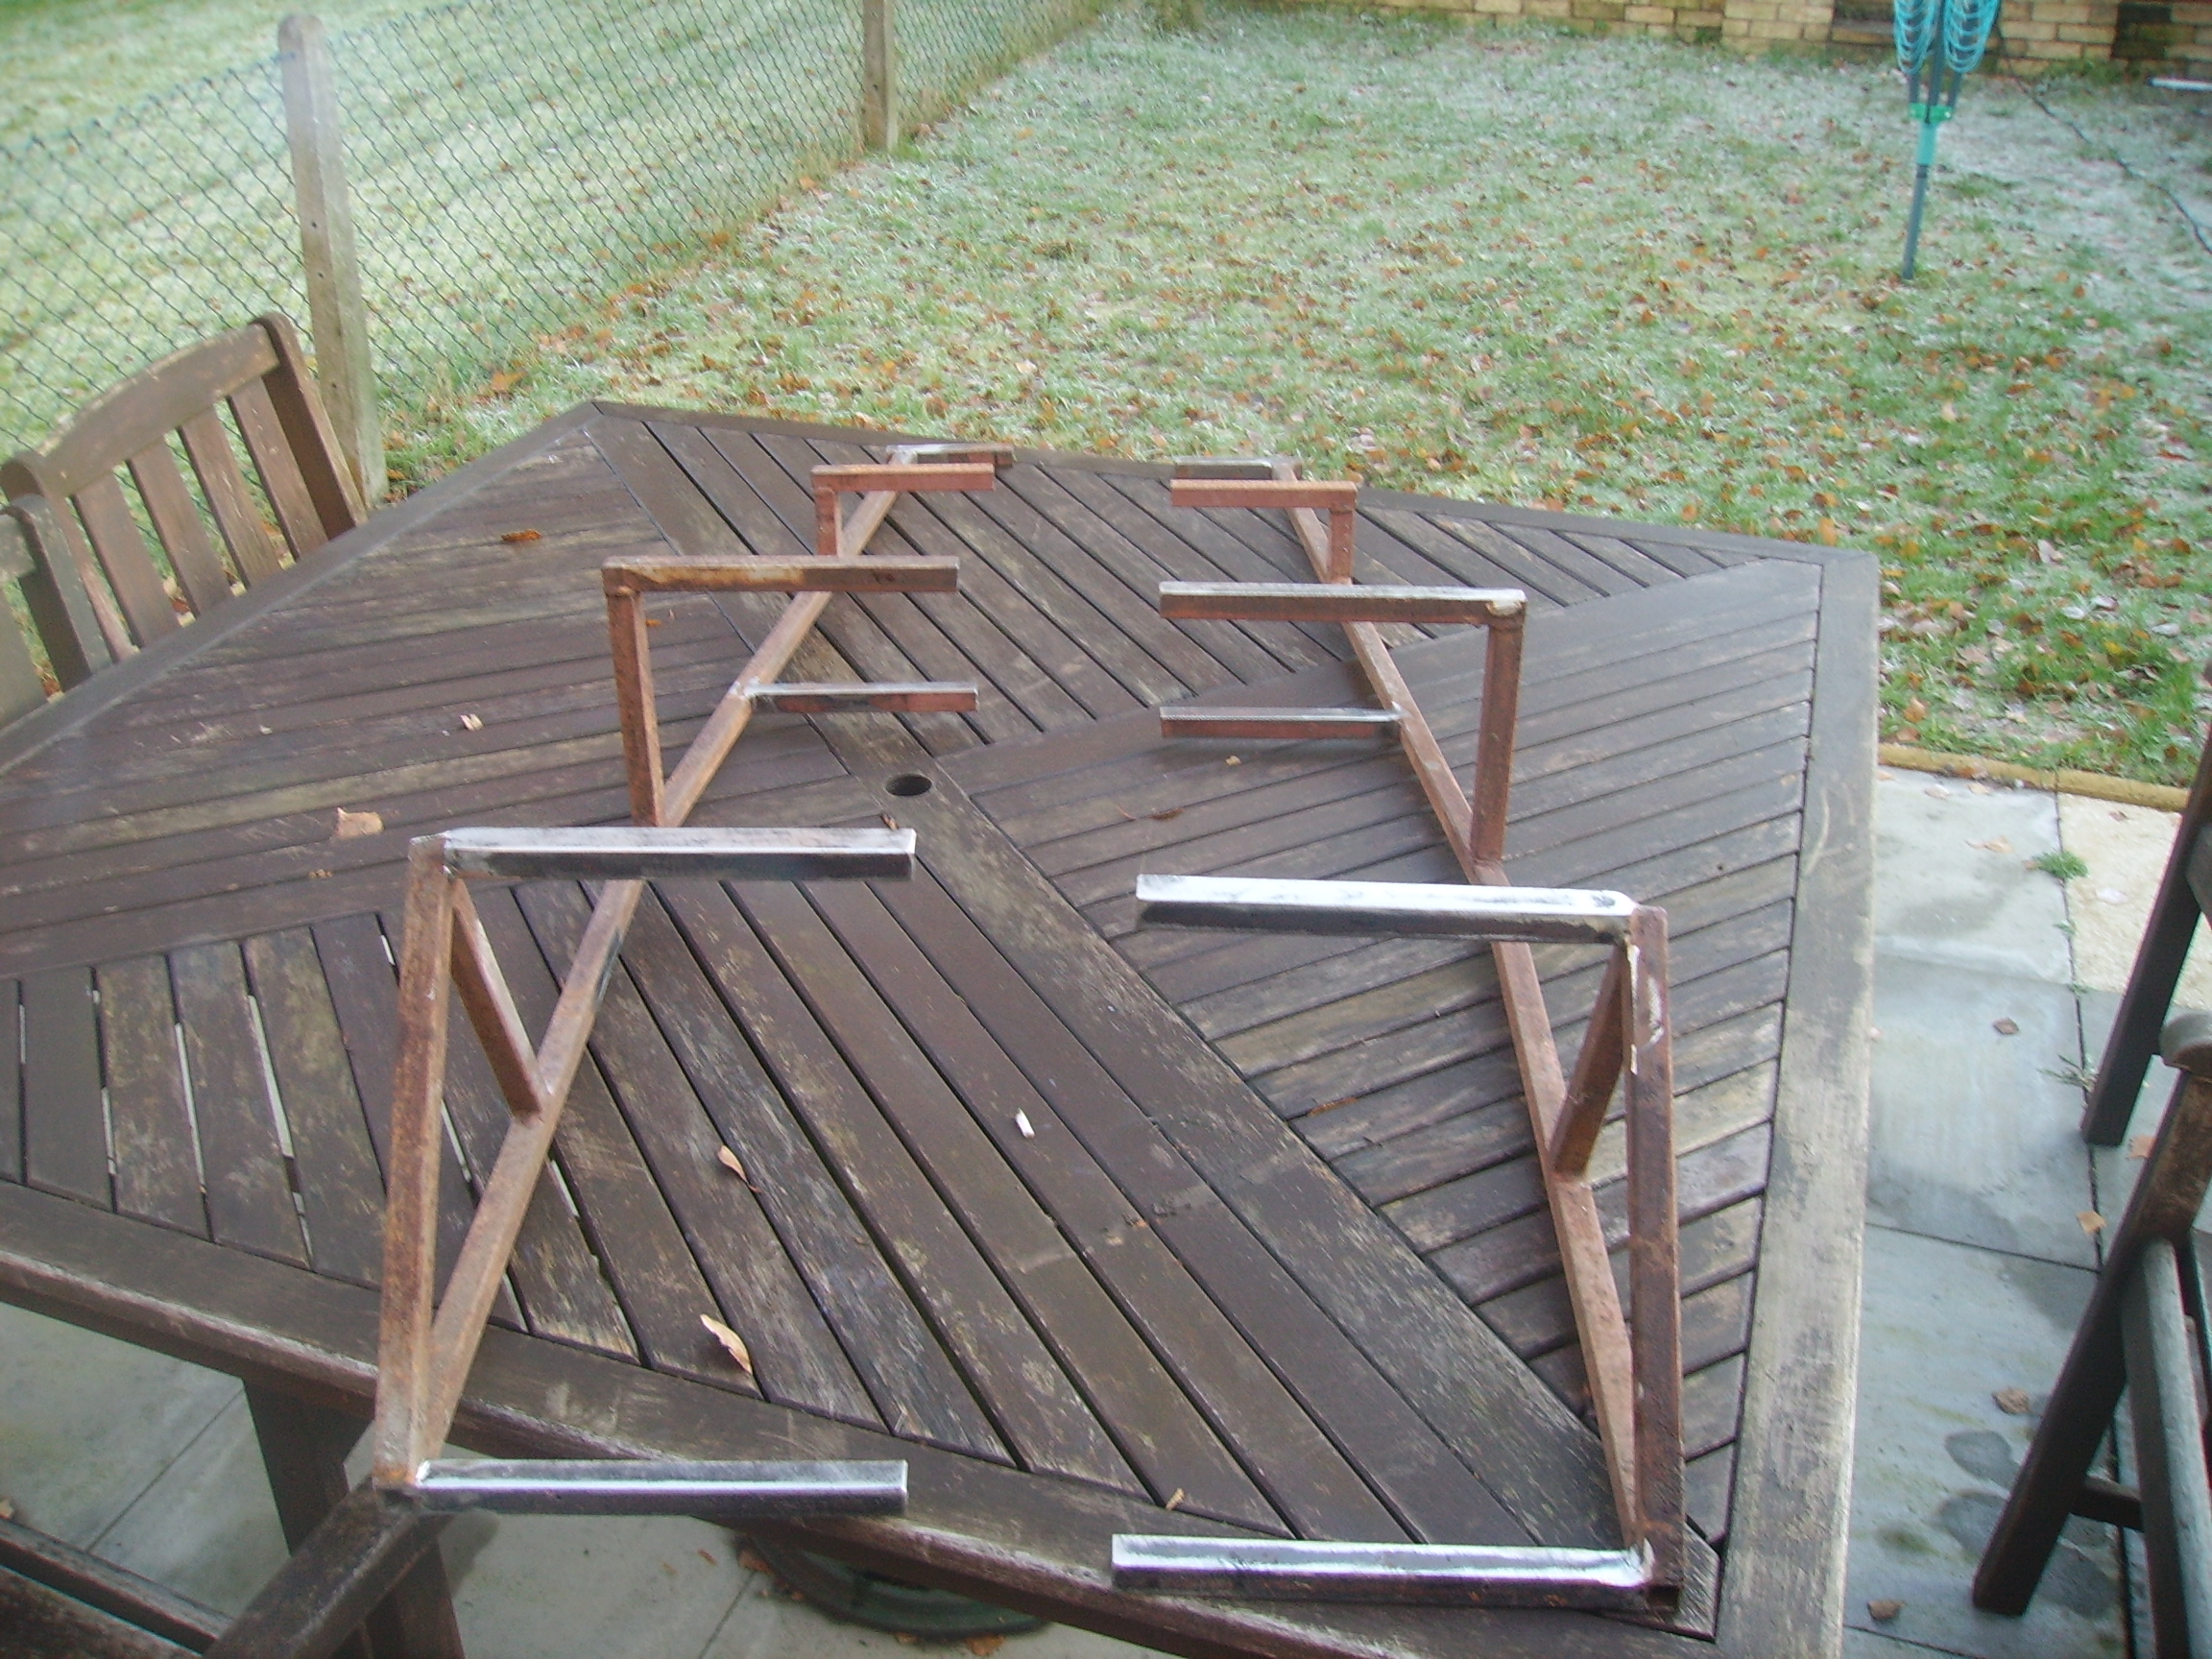
The original chassis was made from ¾” steel section and the steel section I had was 1” which was a perfect slide fit over the ¾ (after it was cleared of rust and paint).
Perhaps luck is going to be on my side with this build.
Hmm I think the front may be little too wide but I will worry about that later will have to see how the engine sits and if there’s enough room for the steering column.
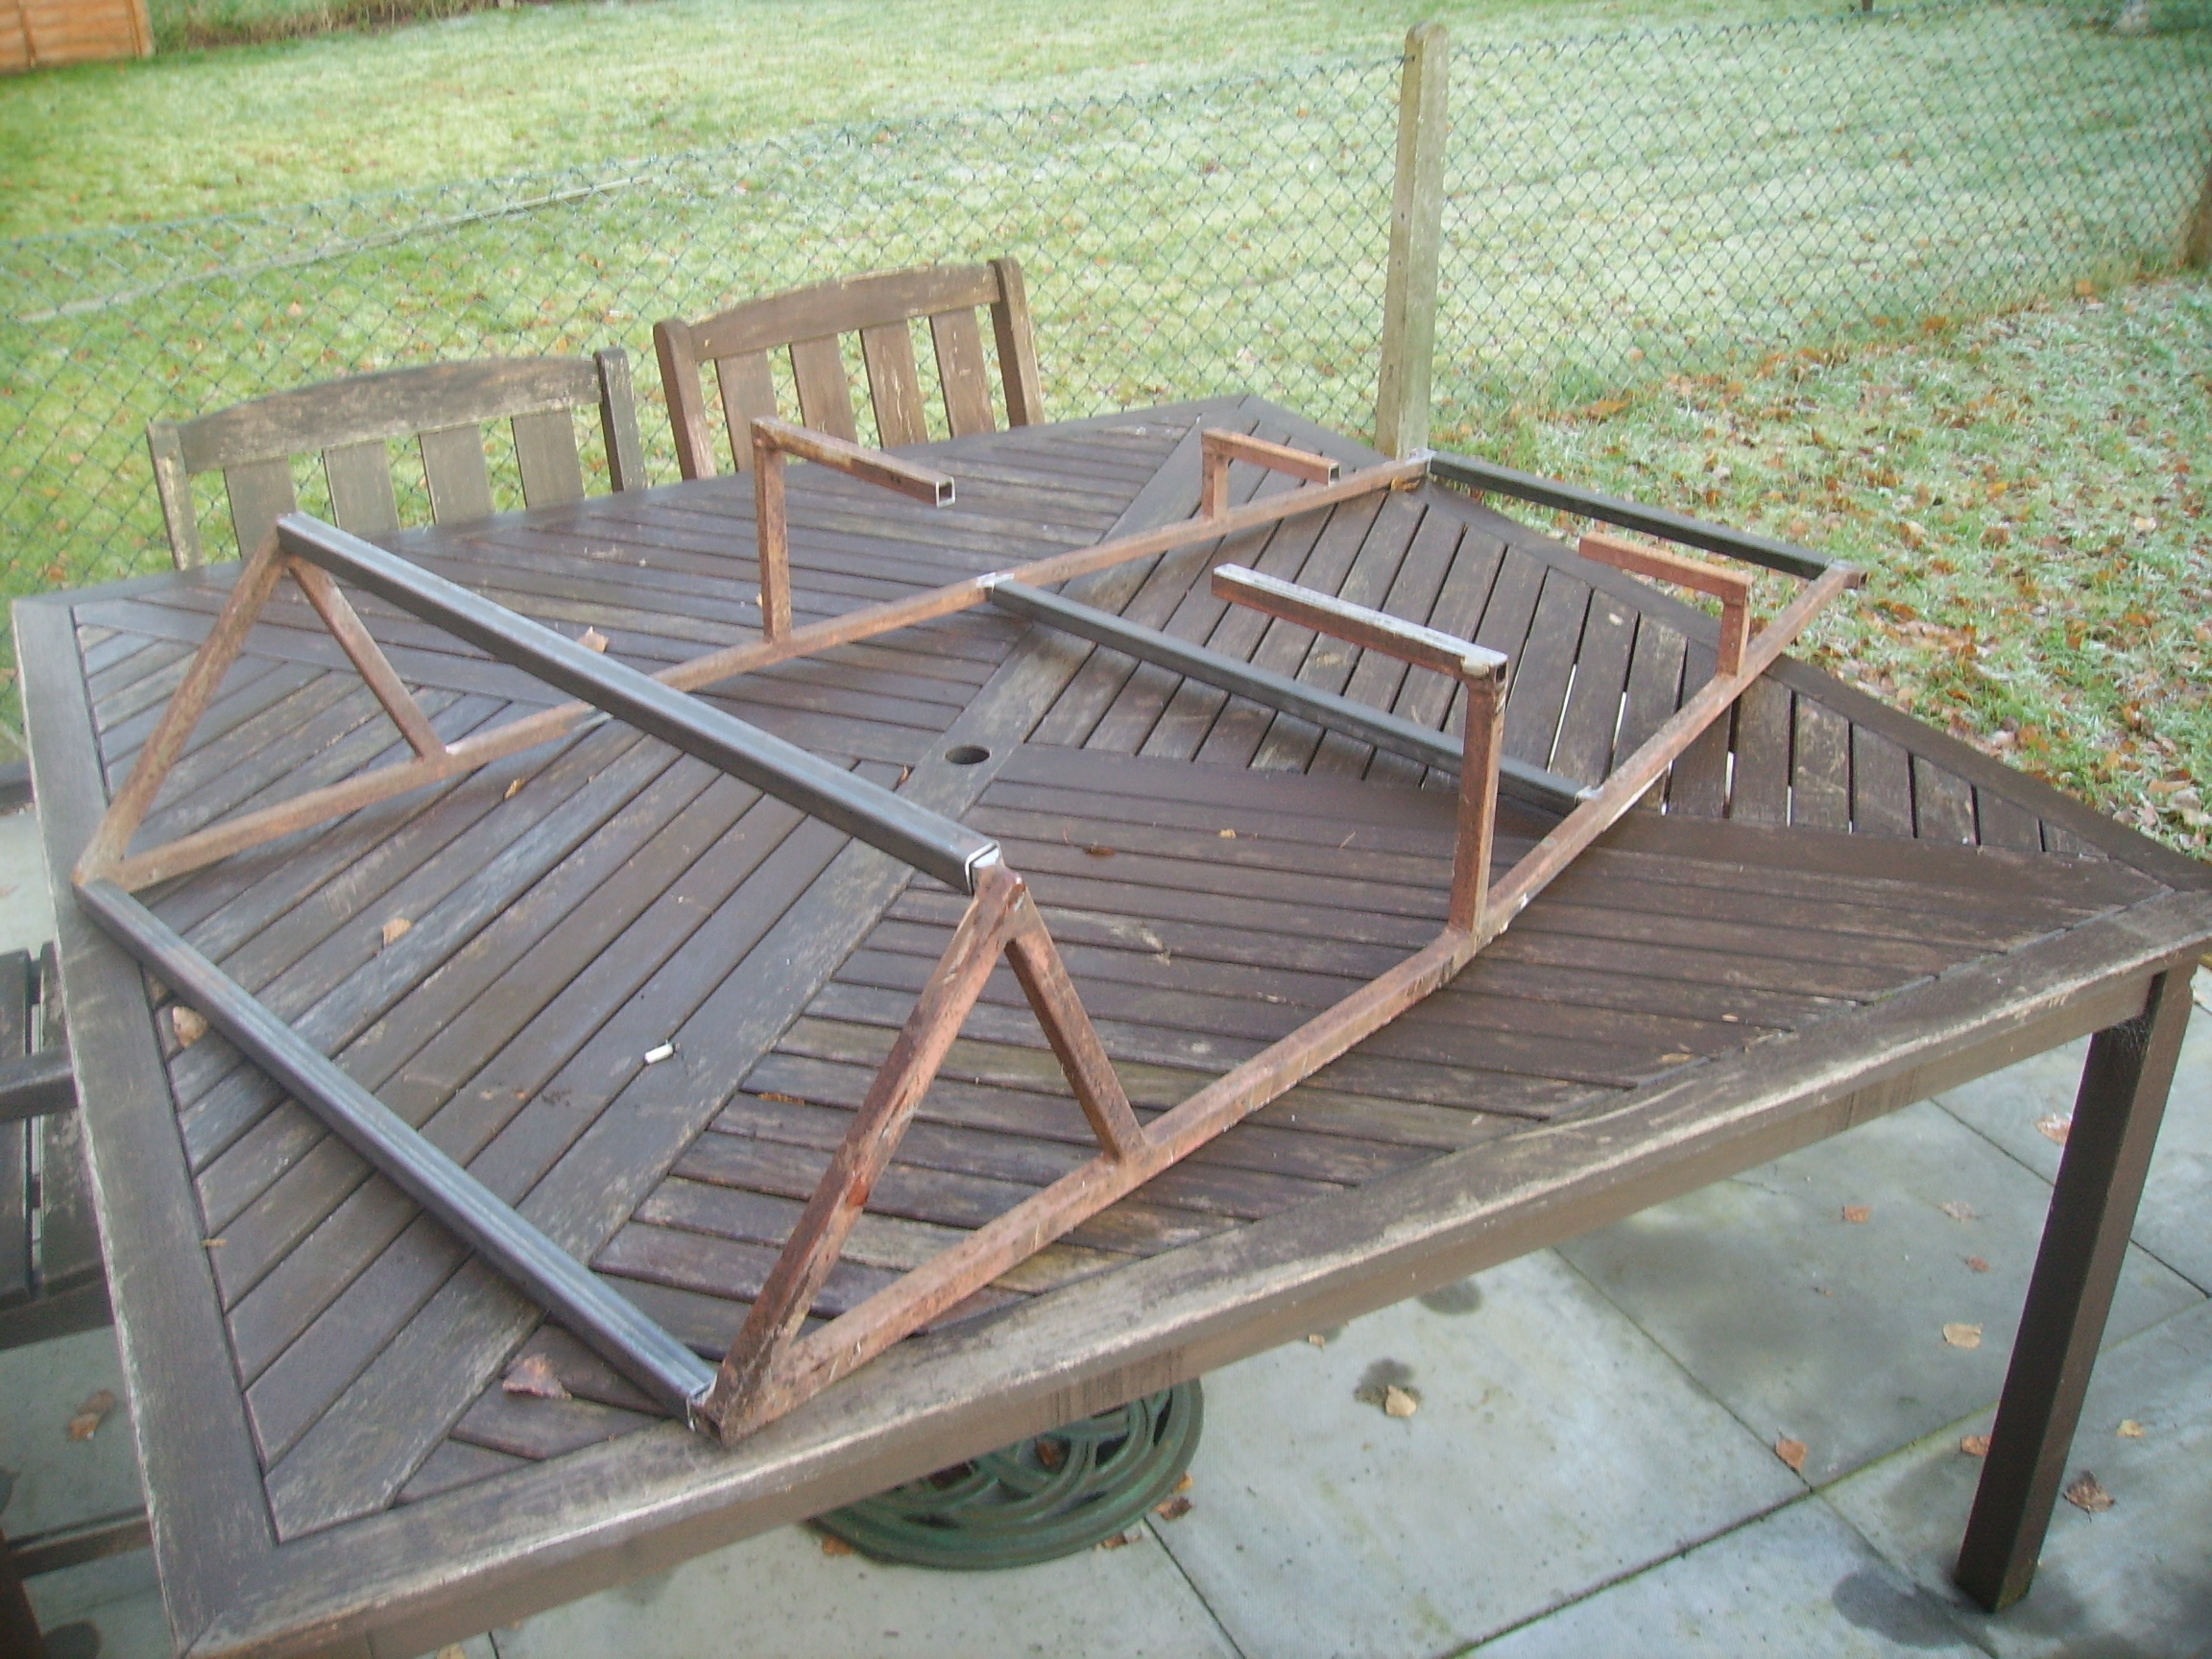
After lengthening the chassis by six inches I tried the steering column I had and the engine in rough position just to see how things were looking.
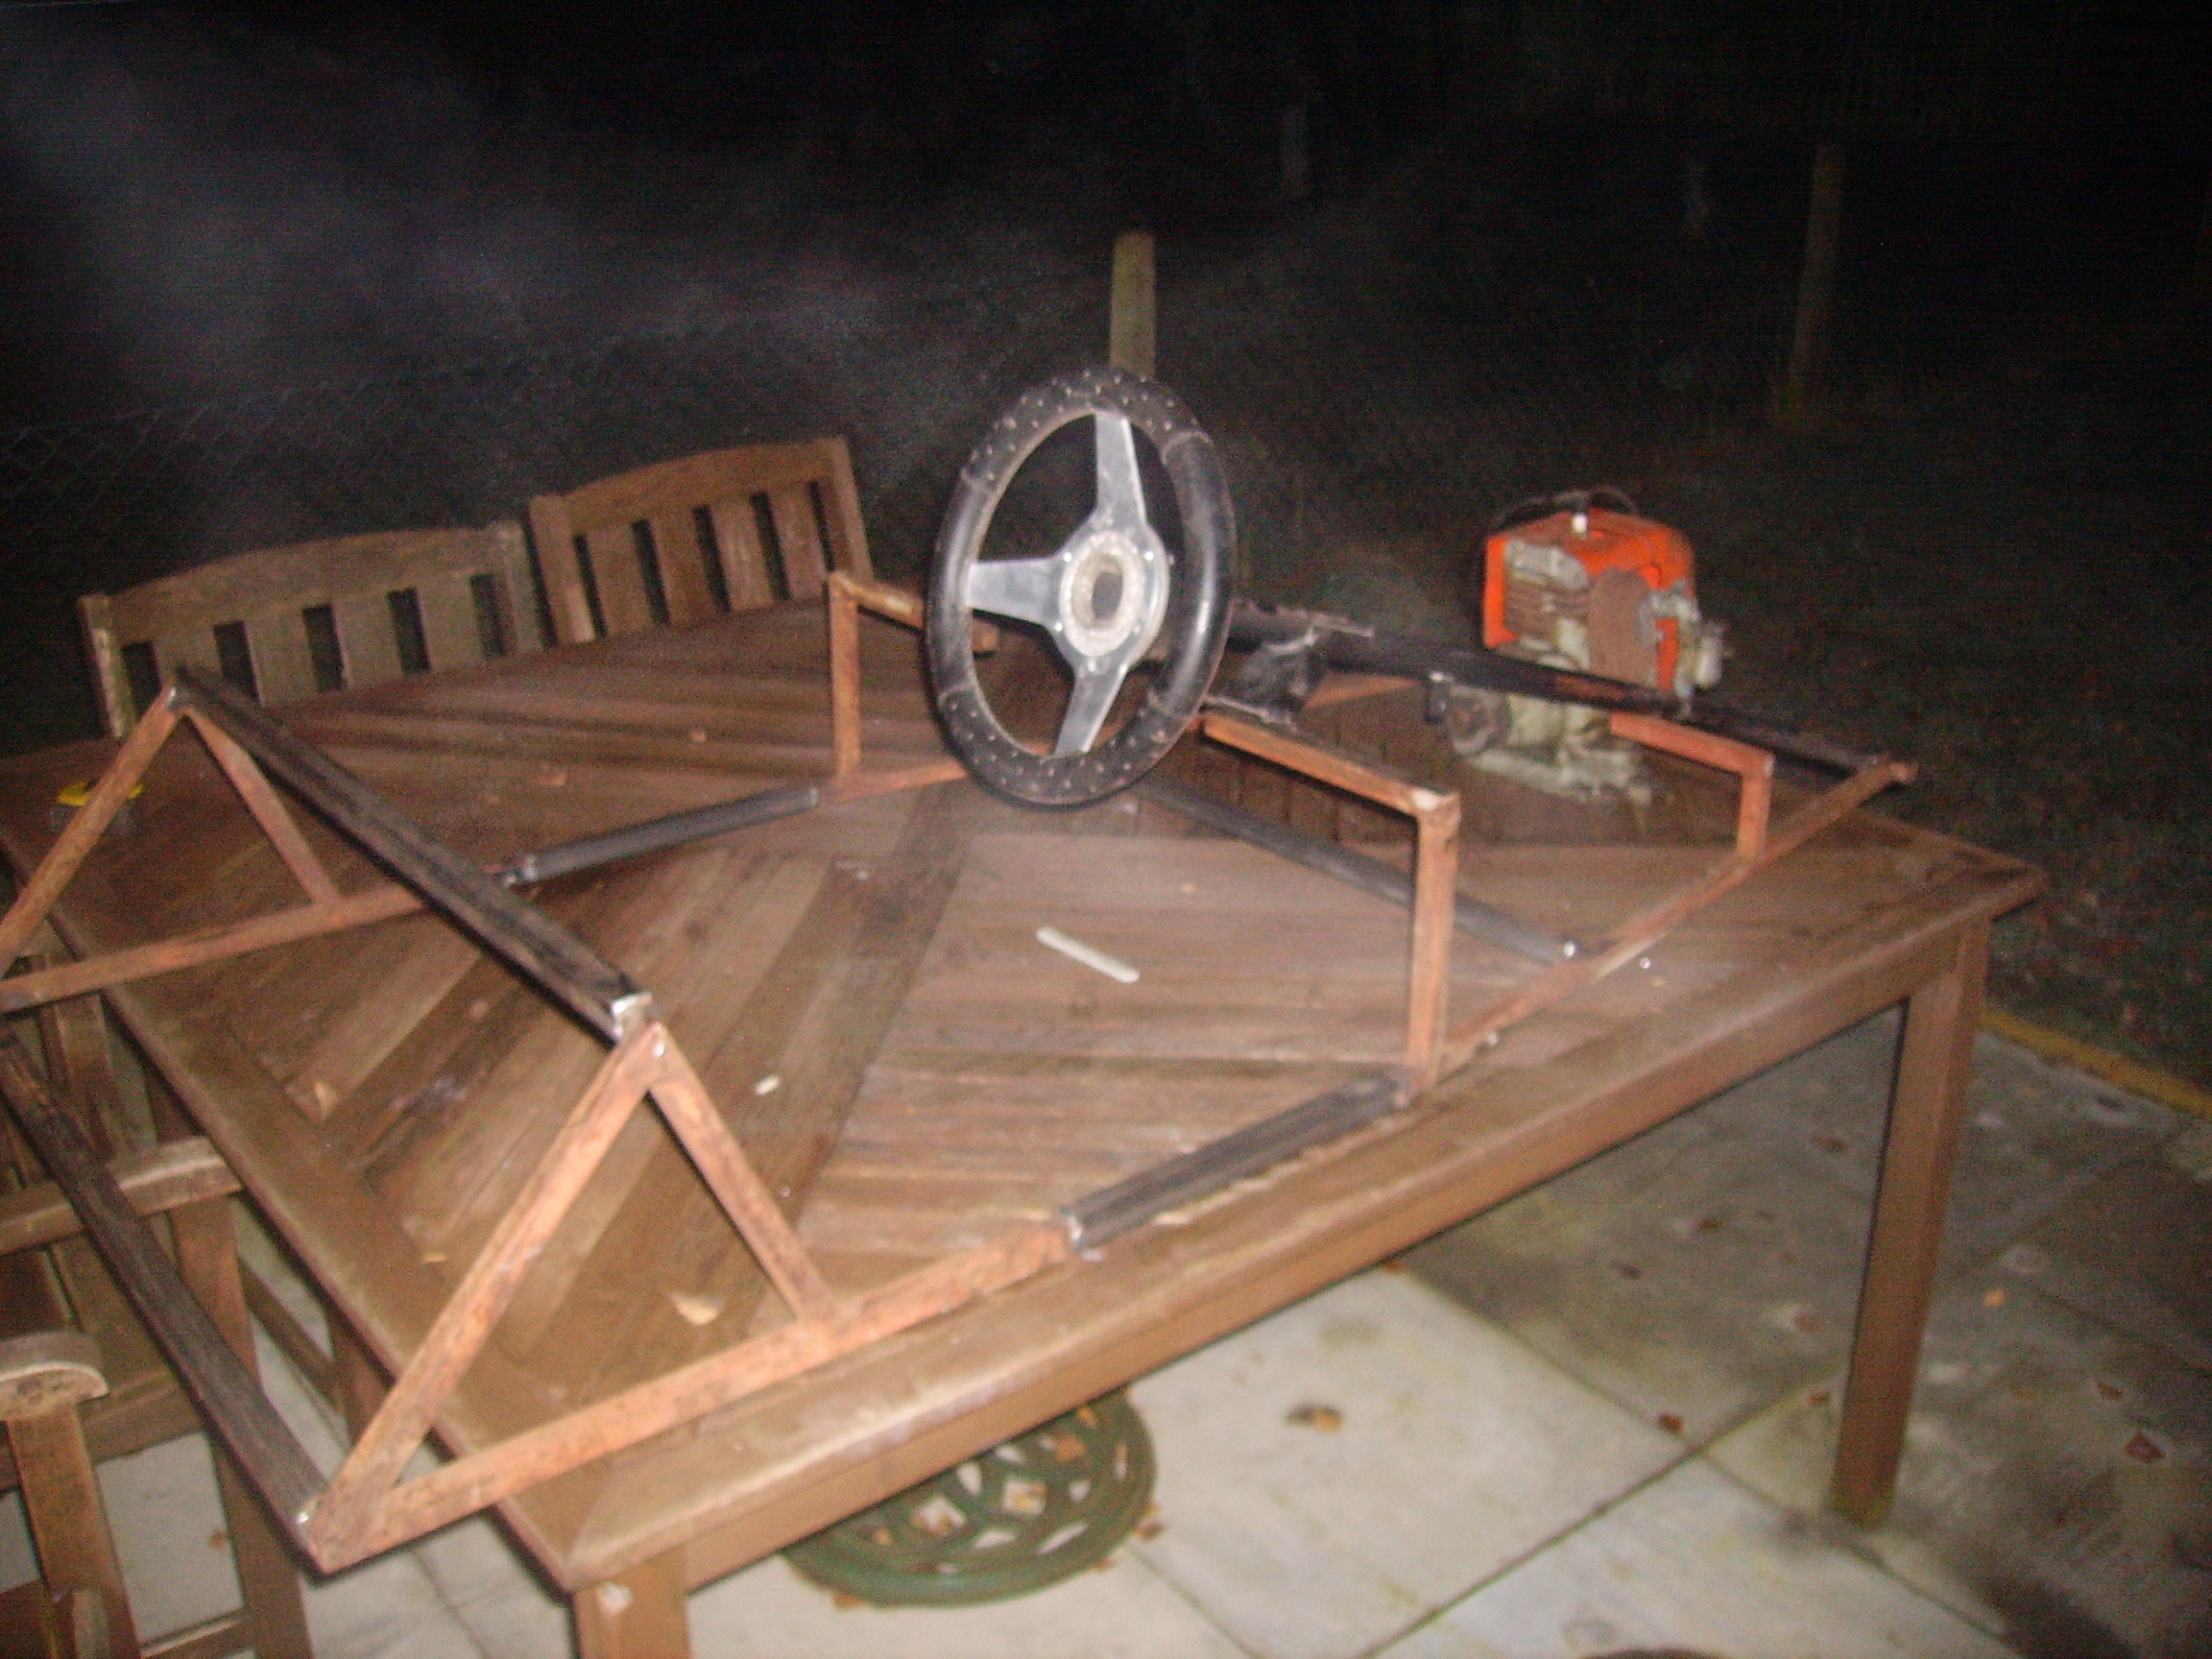
If I was going to be using this steering column it would need modification to sit right. The original mounting was pushing the wheel to high and back into the driver compartment. The length of the column at this time was looking ok but the steering wheel itself looked a bit big will try to get hold of a 250mm diameter one and see how that looks.
Now its 8pm freezing cold and time to pack
up.
Did you notice the pencil under the steering wheel?
It was actually frozen to the table!!!!!
28th December 2008
The front did need to be made narrower by a
couple of inches
Fitted the two straight pieces down the centre of the chassis and the extension on the front for the front suspension.
 |  |
The back rest/rear shock upper mounting point wasn’t high enough so it was removed and altered to raise the top bar 2 inches still doesn’t look right so might have to alter that part again at some stage.
The top rails that were originally on the chassis were removed wasn’t the right height.
31st December 2008
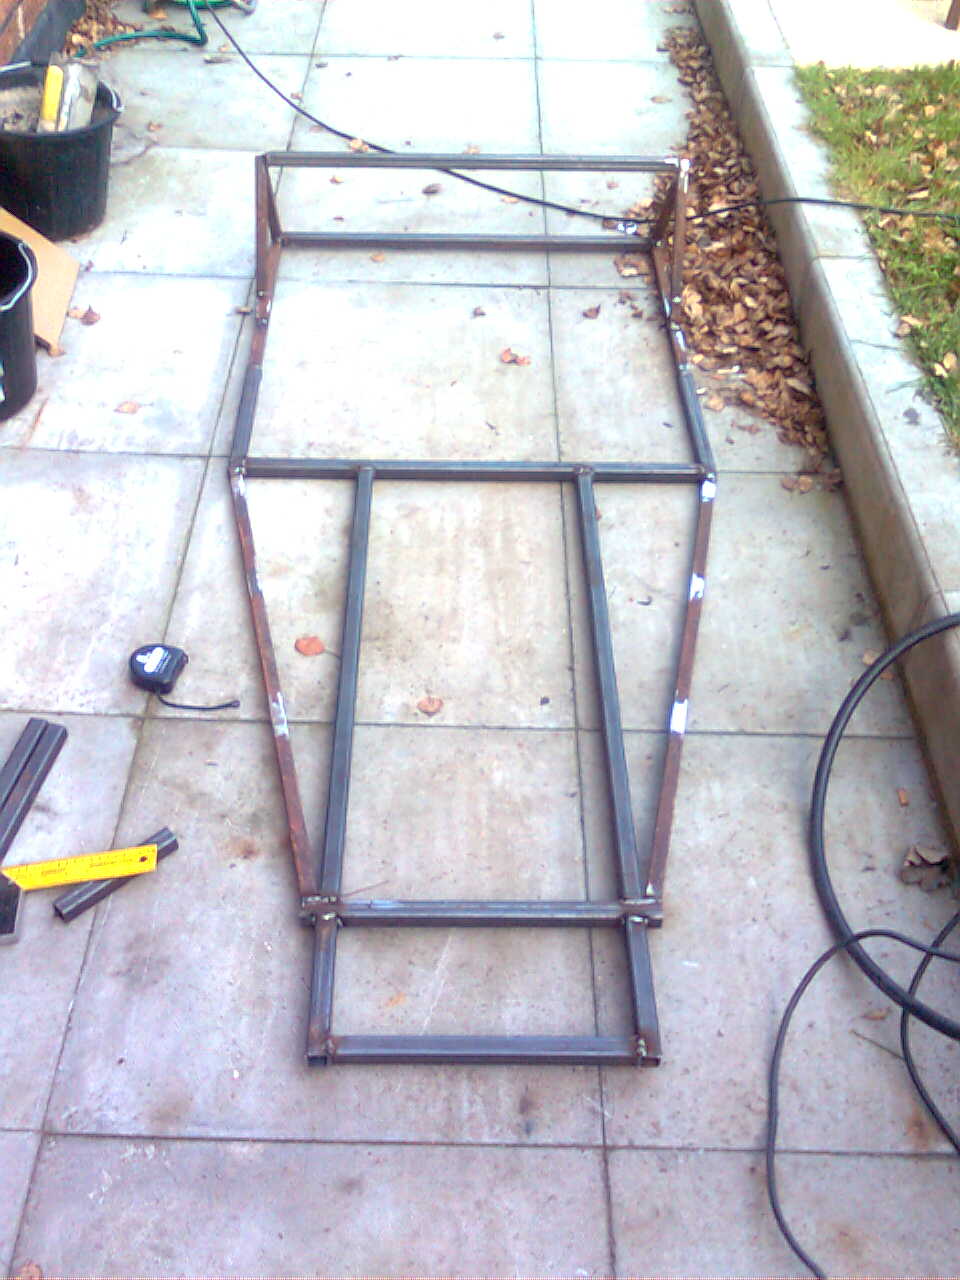
On the wider side of the arm I left the tube in one piece so it kept things online till I cut it down to fit inside the proposed mountings.
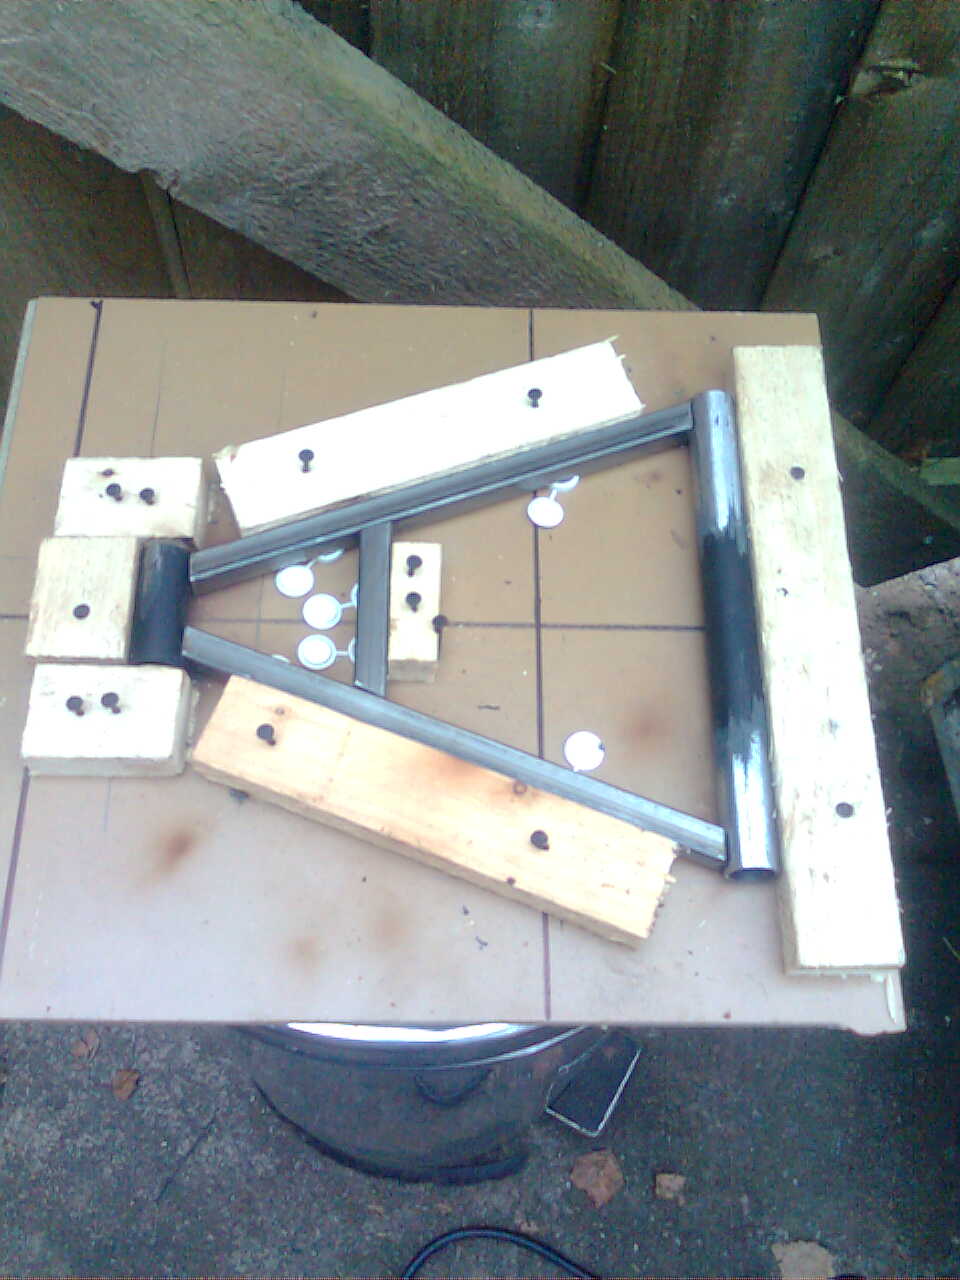
A couple of weld tacks to keep it together then removed from jig and welded all the joints.
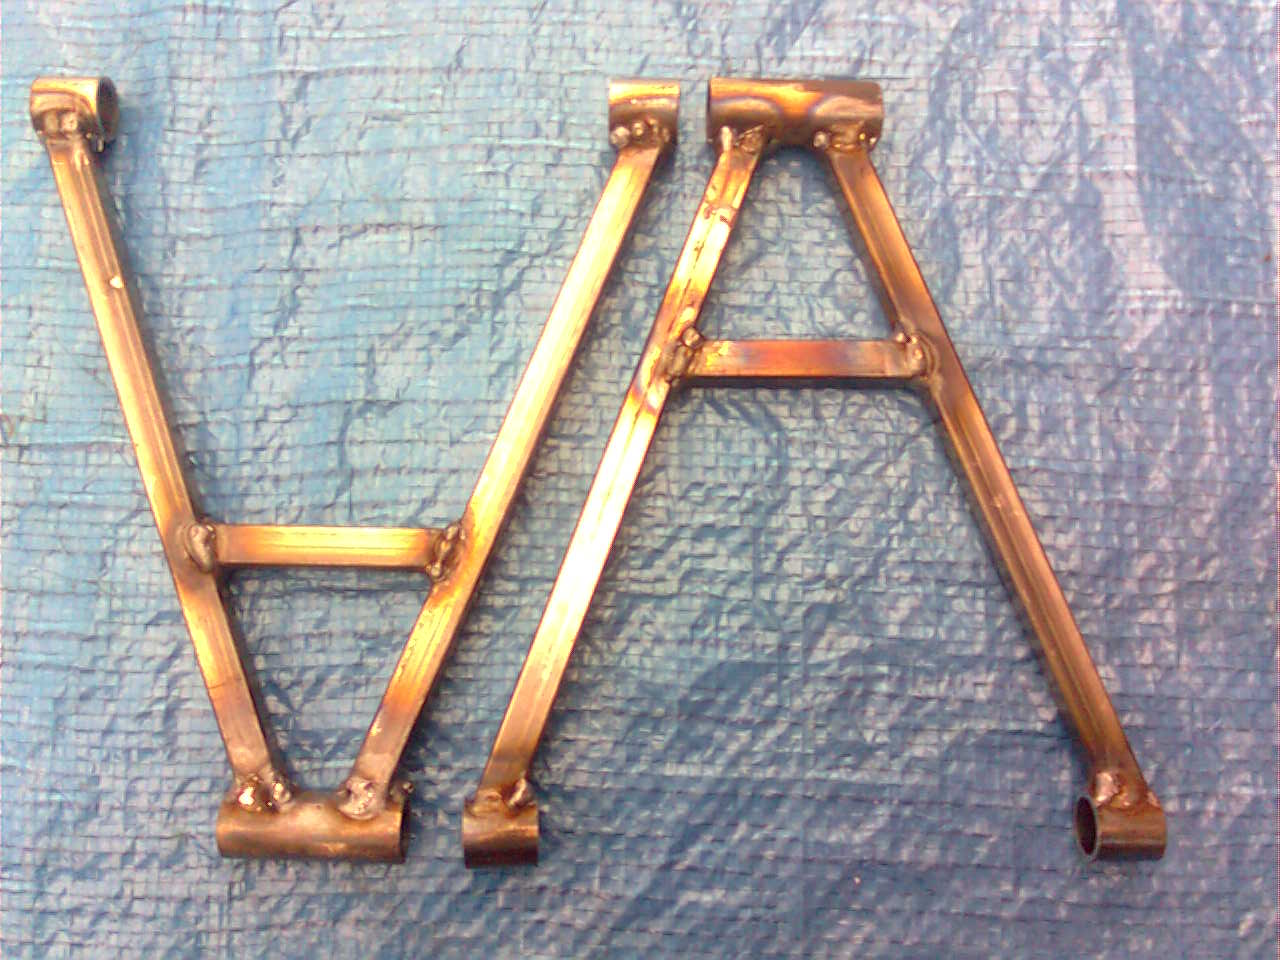
Cut down the tube and one pair of front lower suspension arms.