5th April
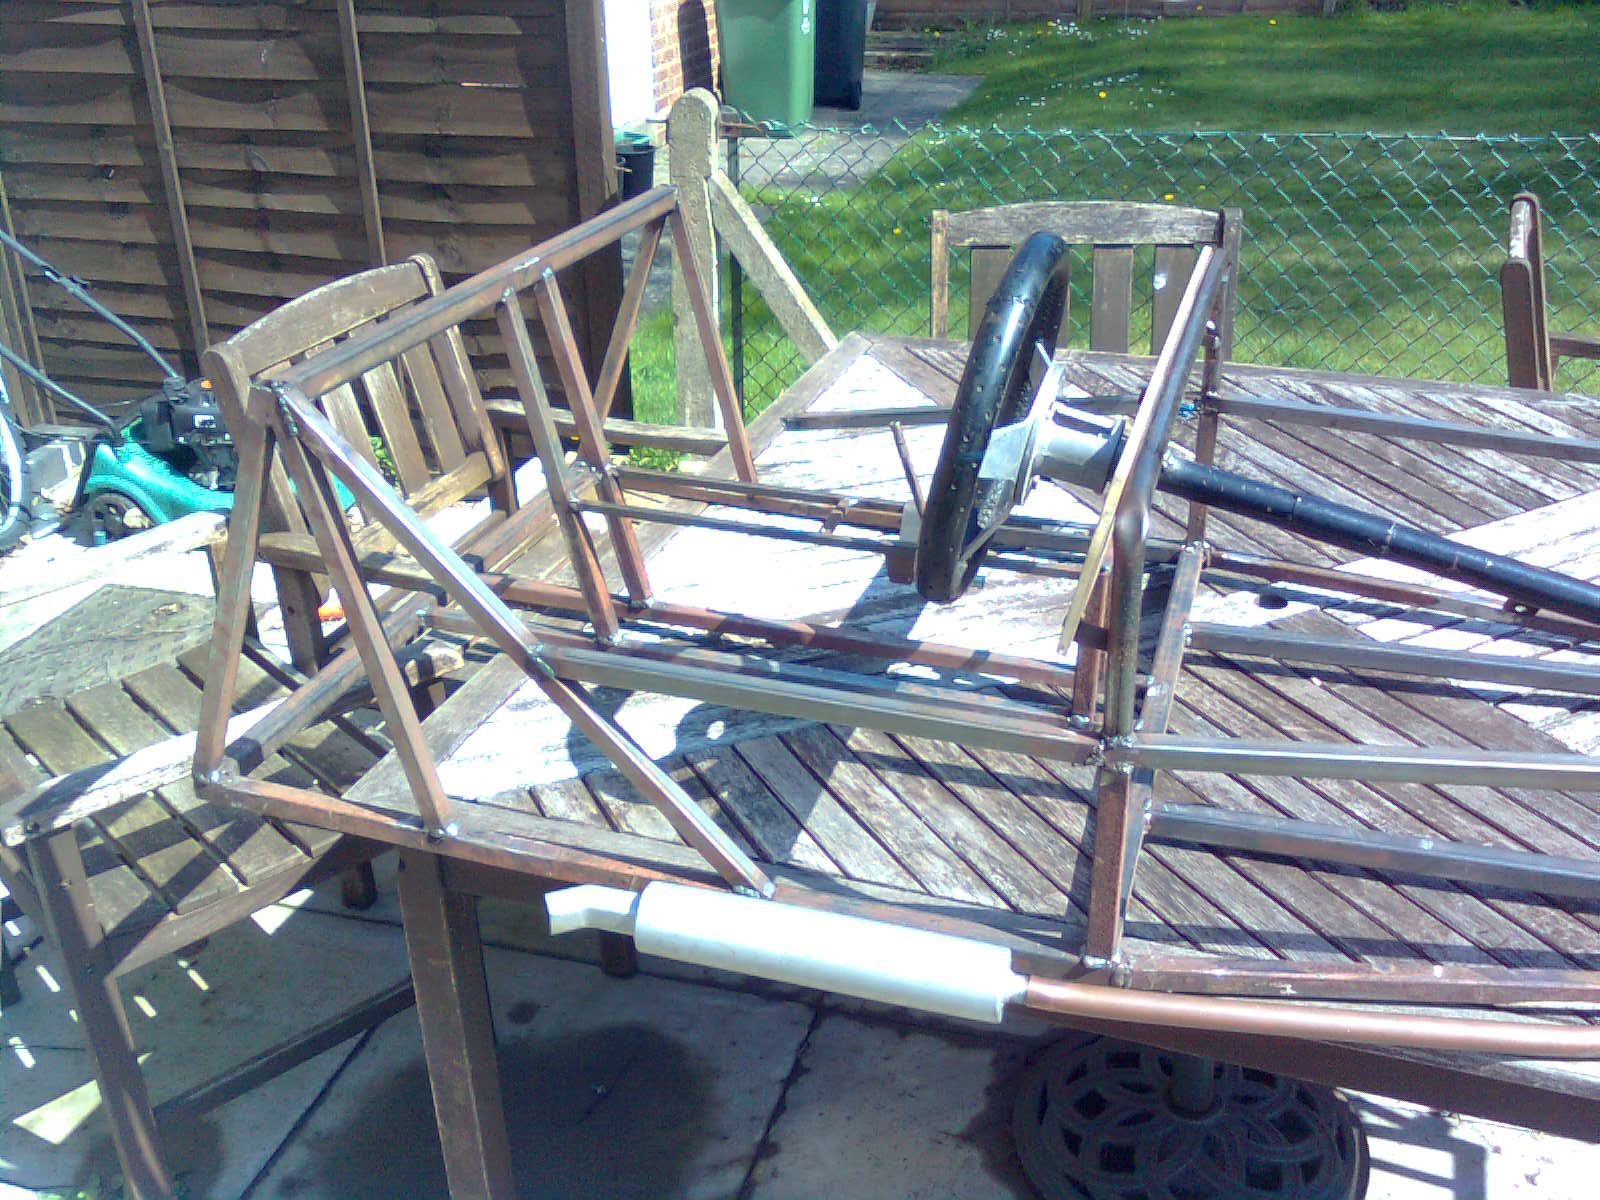
As Ethan was here i got him to sit in the
car and see how things were looking, good job I did the back end was totally
out of proportion so I had no choice but to cut it all off and start again. Just a
couple of hours and it was done and looking much better.
Note:- only drivers side finished ran out of 3/4" steel again :-(
6th April
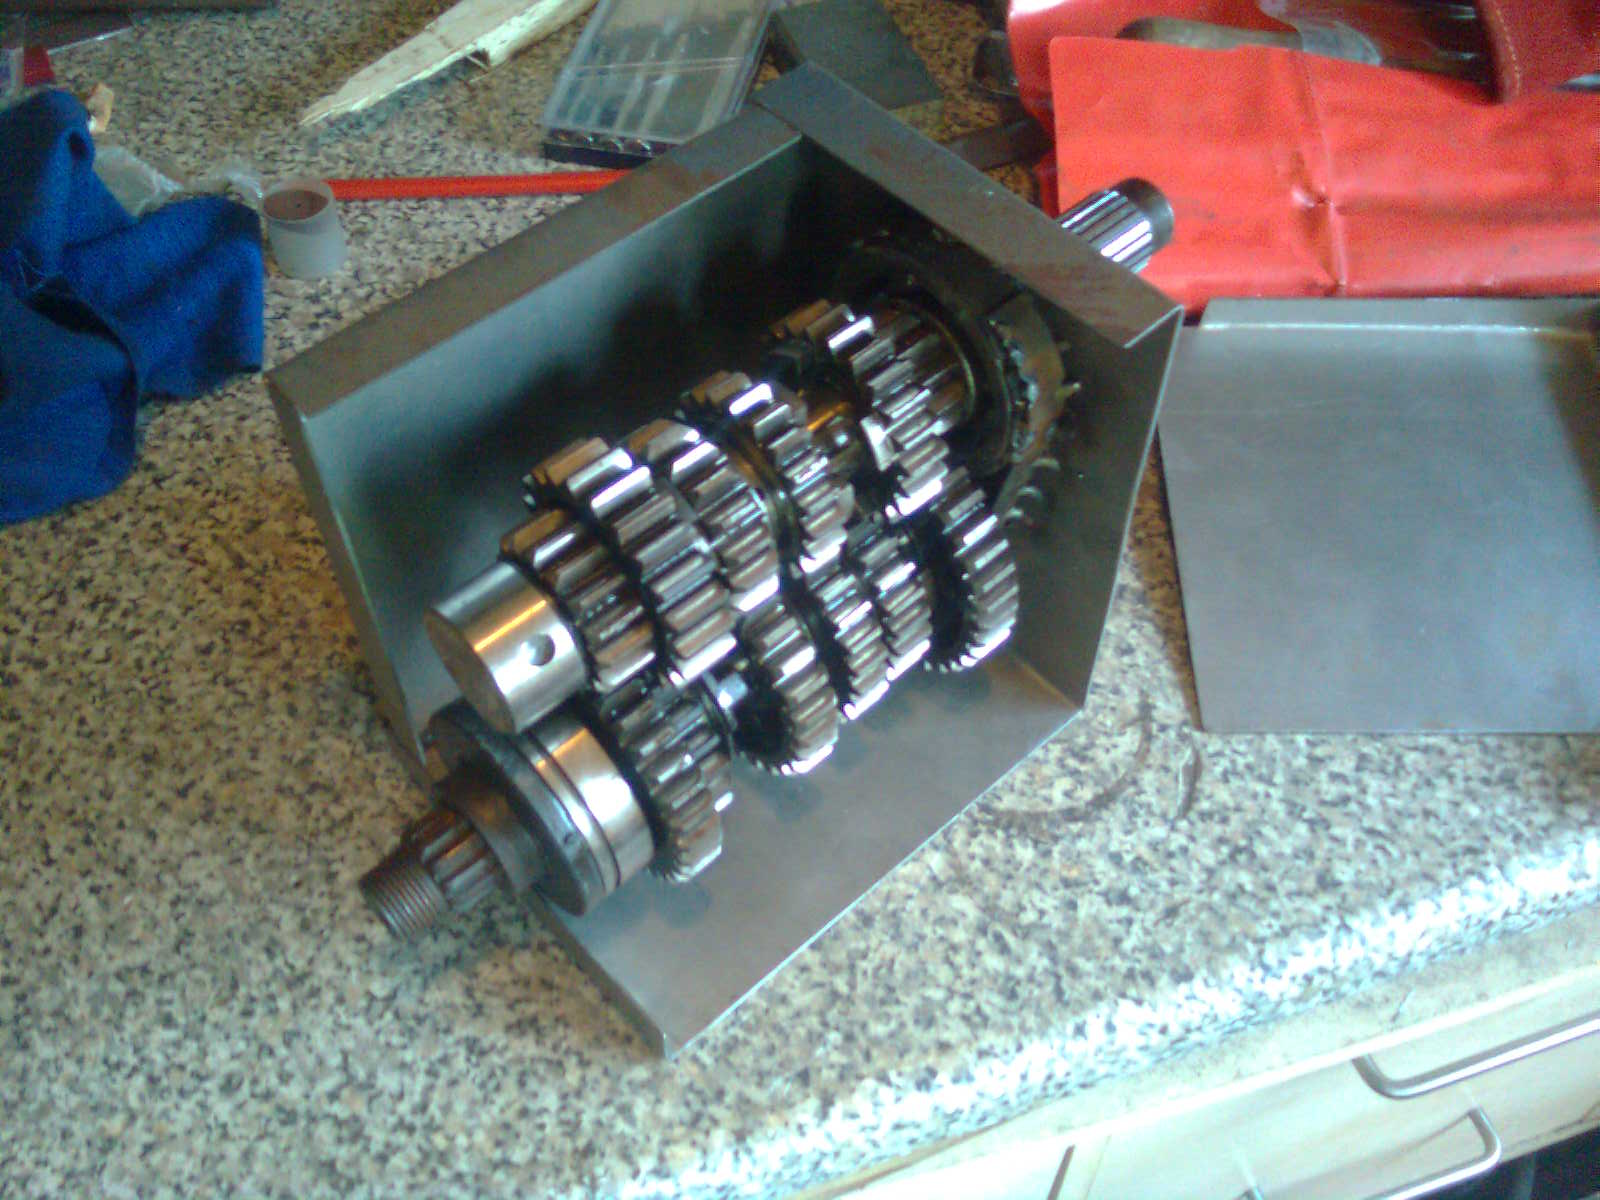
On eBay (you got to love eBay) I found for
sale the gearbox internals of a Suzuki bandit 600 I believe its a 6 speed box,
buy it now £14.99 only local so id fetch it myself. Wasn’t to worried about the
ratios as I would be using 15” diameter wheels a lot smaller than the bandit.
First of all I started to make the casing
using 1.5mm steel plate
This next part gave me a right headache lol
trying to turn the gearbox into 4 speed with reverse I spent the rest of the
next two evenings re-arranging the gears trying to work it out but finally got
there I hope lol
9th April
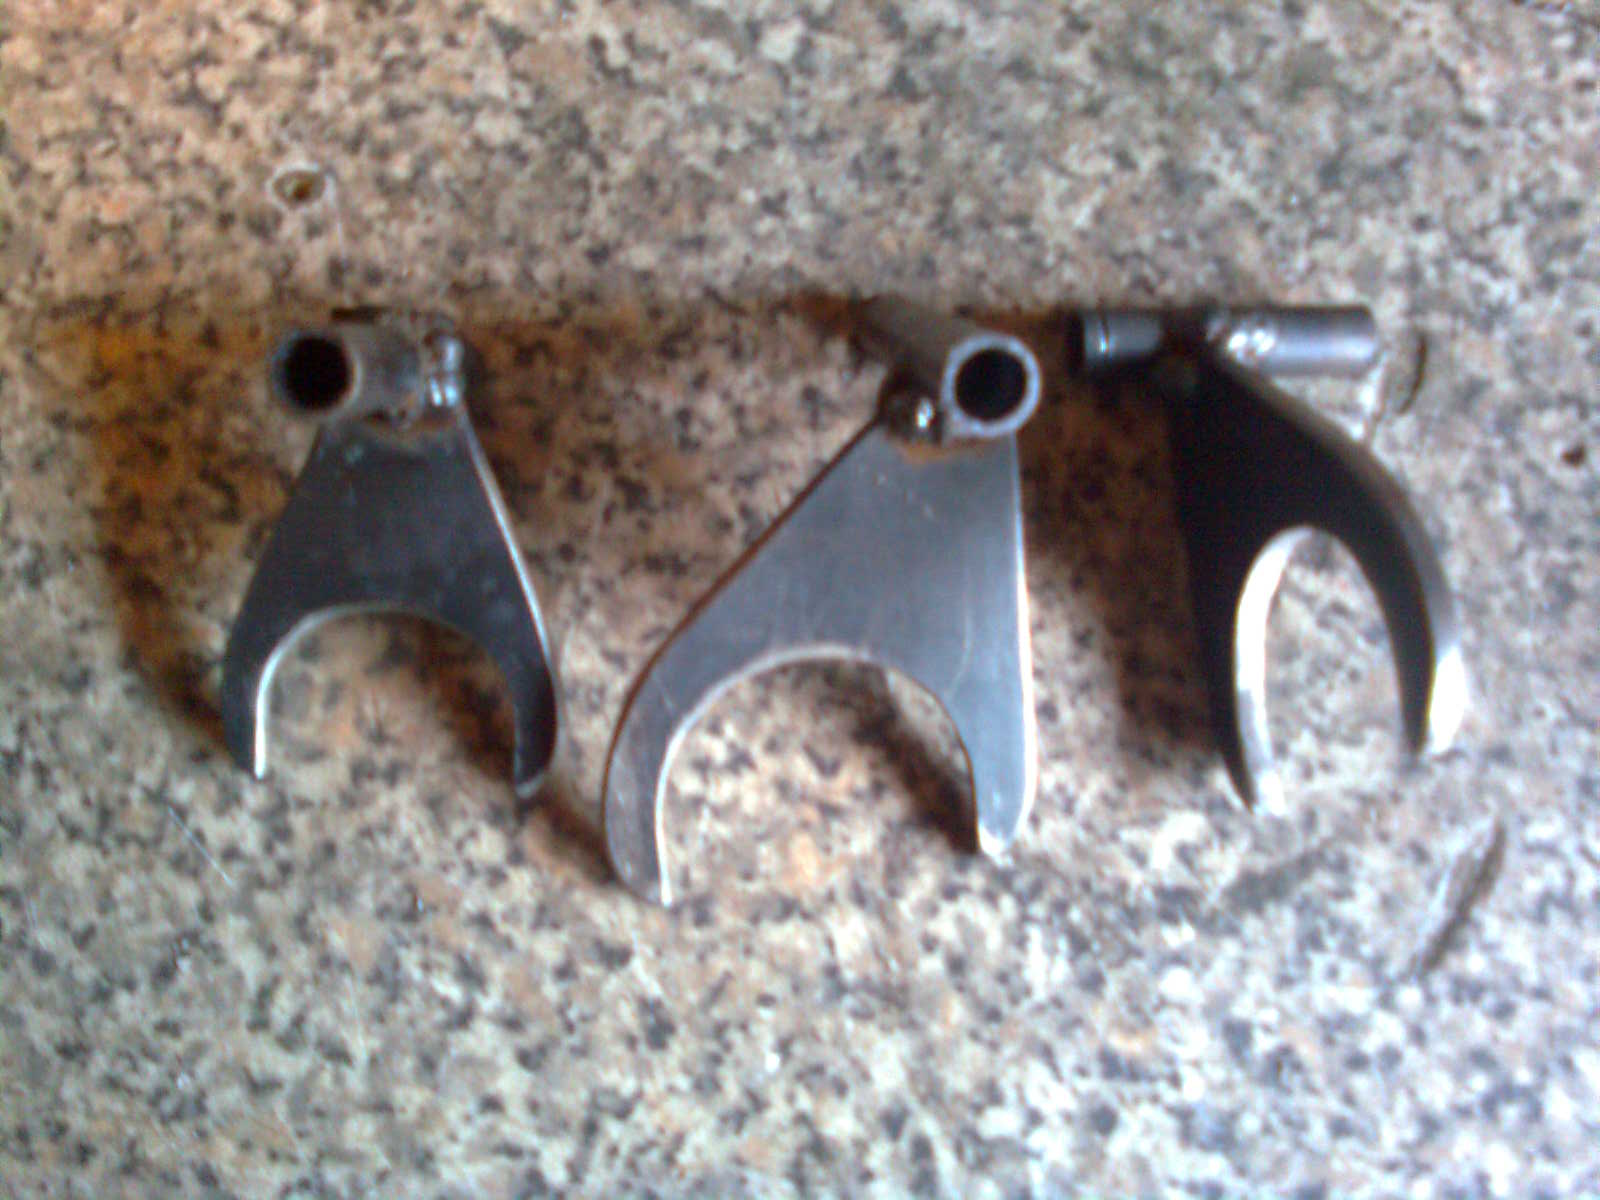
Next I made the selector forks from some 5mm steel
plate and some 10mm tube. After a lot of sawing, filing and grinding I had the
three selectors.
Time for a trip to B&Q need some 8mm
steel bar to fit the forks onto.
10th April
I cut the 8mm bar into lengths drilled 3 x 10mm
holes in one end of the gearbox casing passed the bars thru using a small piece
of 10mm tube to act as a slider/guide thru the casing and another piece of 10mm
tube inside the casing as the slider/guide at the other end of the bar, lined
everything up and welded them into place.
Yes I know the
selector bar looks out of line but trust me it isn’t when the casing is squared
up.
11th April
Started to make the selector mechanism I
used 2 small pieces of angle iron drilled 4 x 8mm holes in both pieces three
across top and one underneath in the middle. The top middle hole was for the
main selector (from the gearstick) the other three are for 1/2, 3/4, and
reverse.
I drilled three holes thru the main
selector bar at different angles and inserted 3 rods to select each of the
other bars as the main selector was rotated then cut out locating holes in the
other bars to coincide with the selected gear,
I hope you can understand this.
You
should have been this end, another headache coming on lol
This part was then riveted to the top of
the gearbox casing and pivoted bars connected the selector bar to the
appropriate selector fork shaft.
I’m going to have to figure out some way of
holding the gears in neutral as they have a tendency of moving when the
main-shaft is turned and so engaging more than one gear locking the gearbox up
and I think I will have to take some material off the 1st gear dog
as there isn’t really enough clearance in neutral.
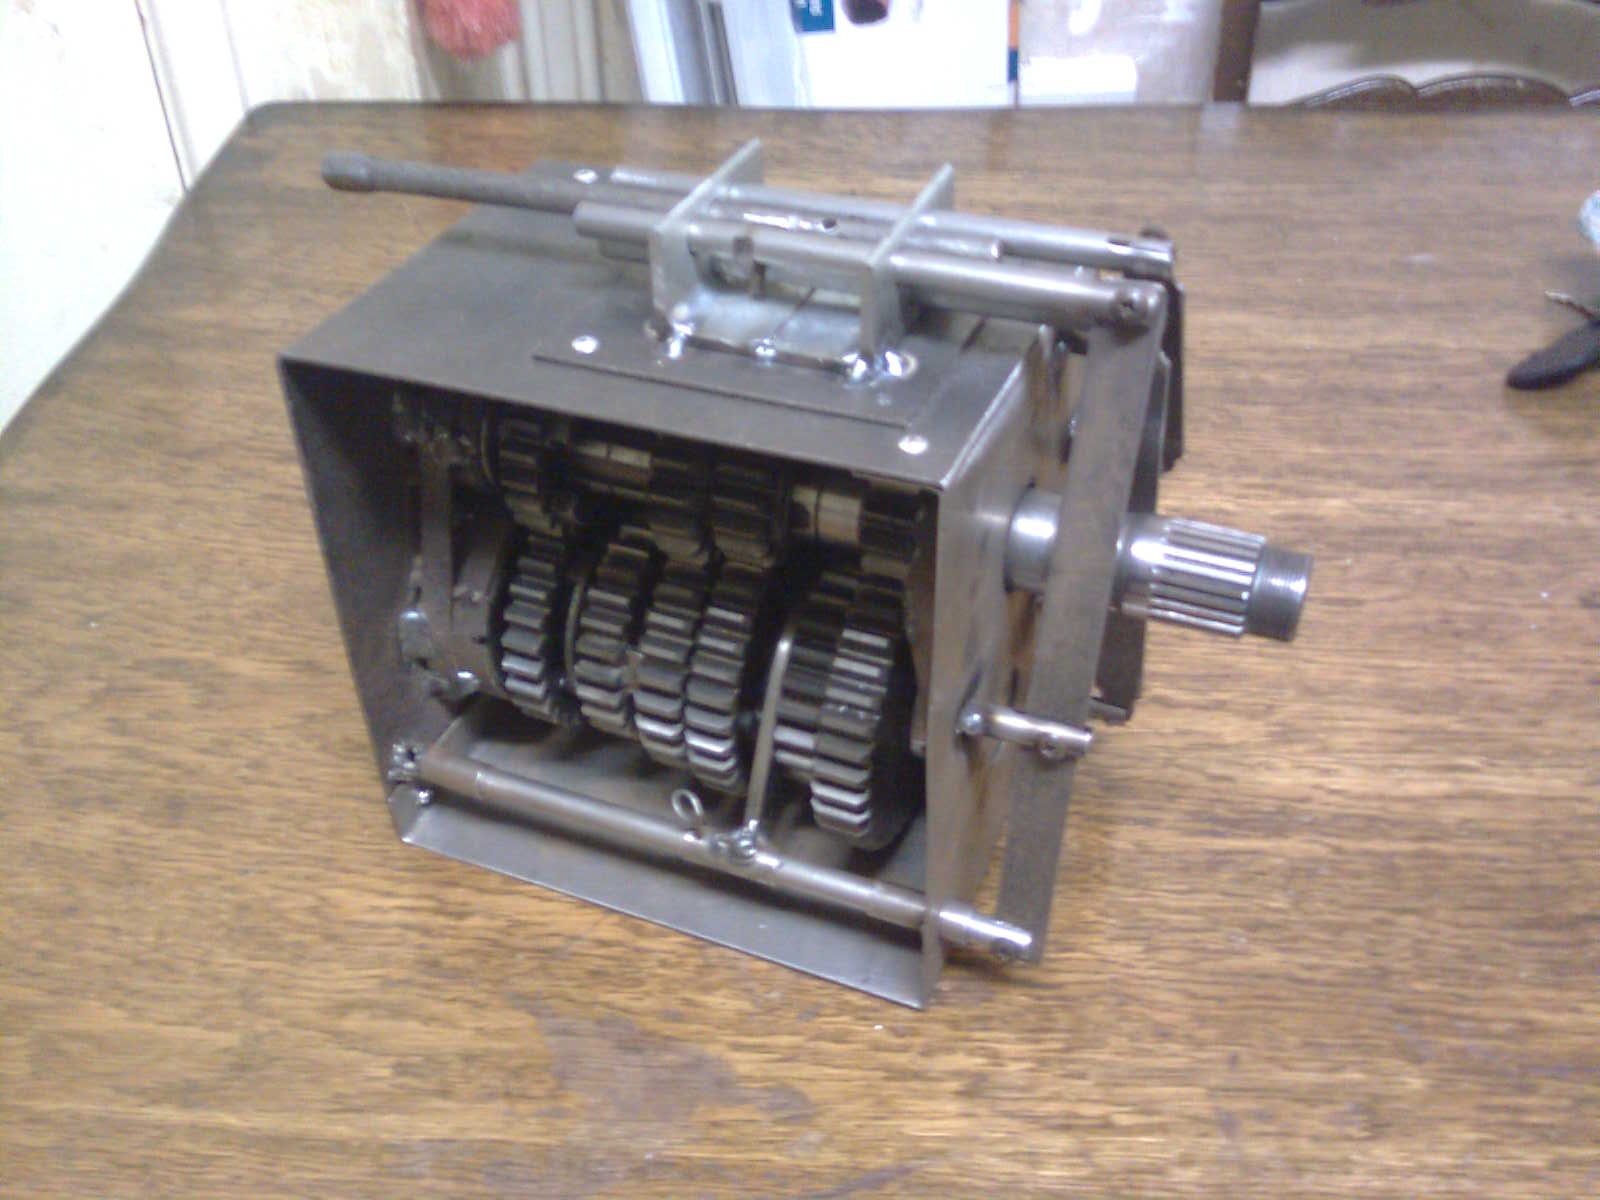
If I do say so myself I’m pretty proud of
this gearbox considering I only used a hand drill, bench vice (for bending the
sheet metal) and an angle grinder to make it, no milling machine, bench drill, guillotine
bending machine or lathe in my shedL.
I hope to god it all stays together there’s a
weeks work here lol.
12th April
After a lot of thinking I came up with this idea to
hold the gears in nutral.
One block of aluminium and I drilled 4 x 8 mm holes in
it 3 at the top and one in the middle
underneath to line up with the selector bars then drilled down from the top of
the block into the 3 top selecter bar holes and one from the side into the
bottom hole.
Then drilled into the selector bars just to make an
indent in the bar so that a ball bearing would sit into it holding the selector
bar still and in nuteral, the ball bearing would be held against the bar under pressure by a spring and a braket to hold the springs in place.
Here are the components.
This was fitted ontop of the
gearbox over the selecter bars
All works fine, selector bars now stay in
neutral.
Next job the gear stick and linkage. But
that’s for another day.
17th April
today i started work on the frame that would hold the engine and gearbox in line and together i used some 2" steel "L" section.
trying to line them up was a nightmare but i got there.
then i welded some brackets onto the side of the frame to hold the bushes i intend to use austin mini exhaust mounting bushes the cotton reel type 6 in total two on each side under the engine and one either side at the back end of the gearbox.
and finaly a coat of red hammerite.
26th April i have today come to the conculsion that the gearbox casing is not up to the job i am therefore reluctantly re-making the outer casing of the gearbox.
watch this space!