1st January 2009
From a few more small pieces of steel that
remained I decided to have a go at starting the upper part of the chassis now
using off cuts of 1” and ¾”.
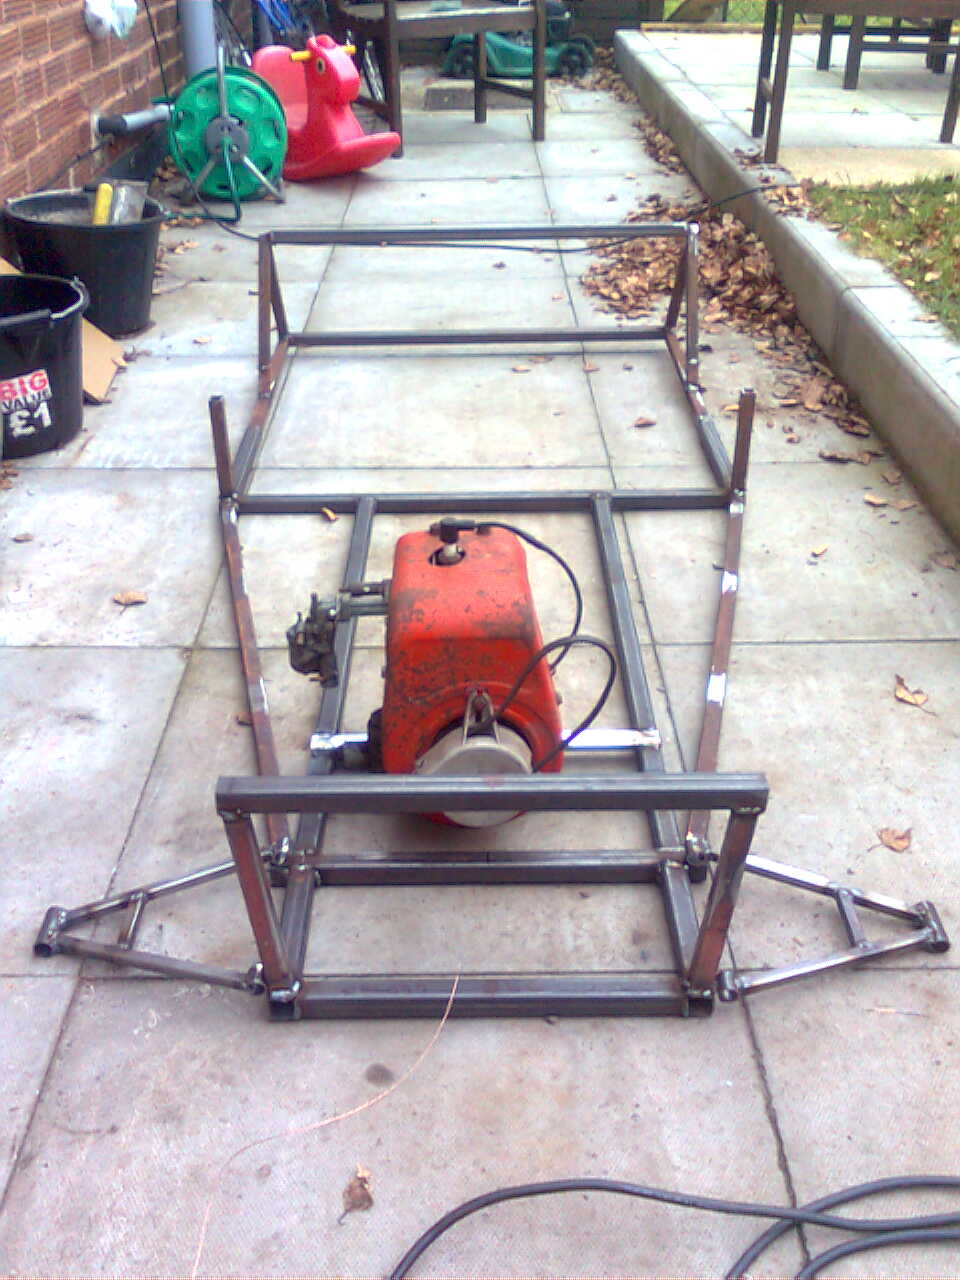
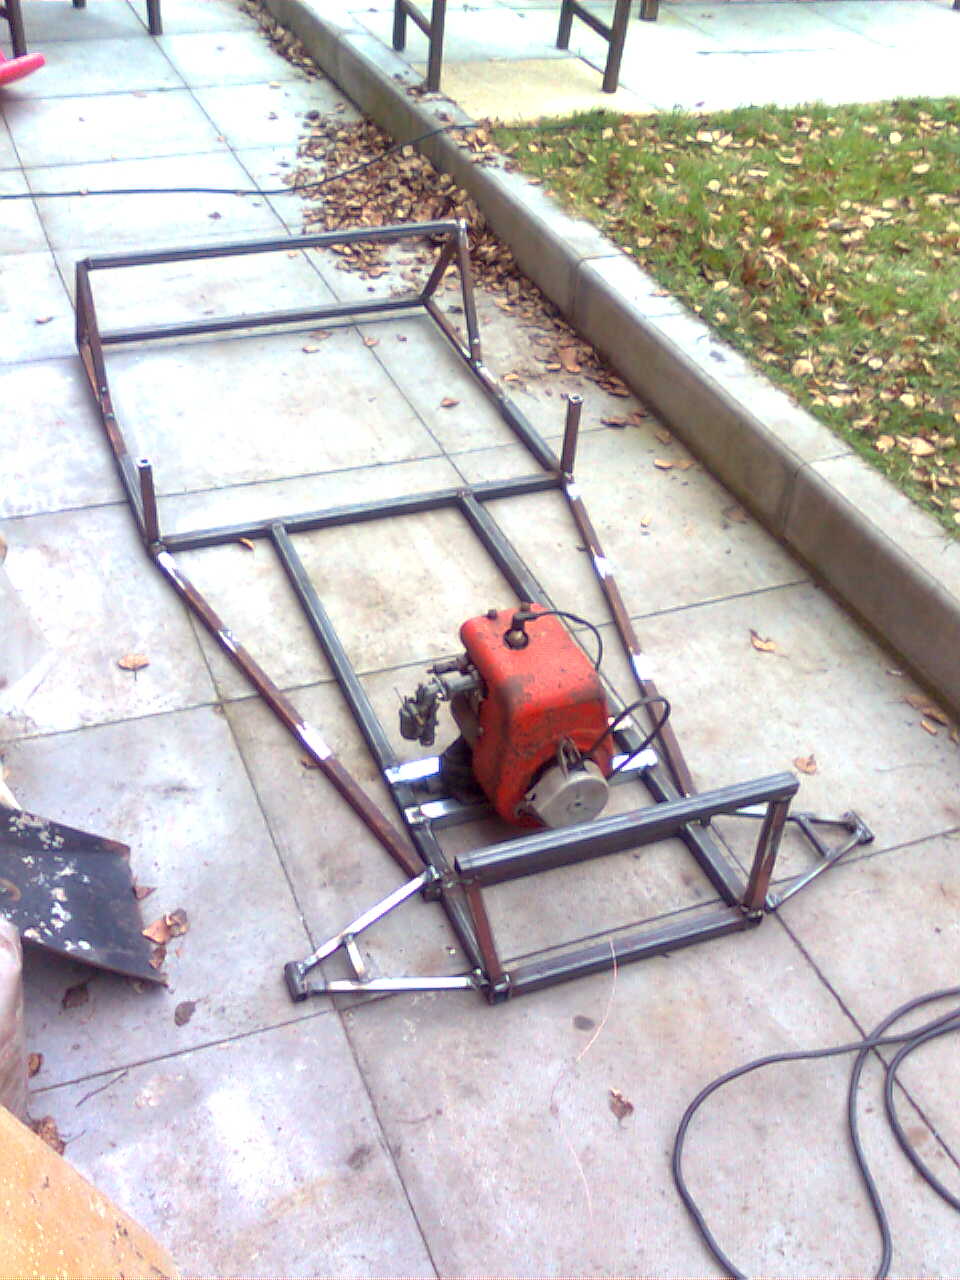
More maths and some guestimations and I
came up with some figures, more cutting and welding and the front started. Used
some 1” angle iron for the engine mount cross member and located the engine and
the front lower suspension mounts for a couple of pictures.
It’s now just over 6’ (note the 2’x2’
slabs) long can this still be considered a go-cart? Will 100 ish cc be strong
enough hmmm? Will have to wait and see Maybe Ethan will grow into it maybe ill
need a bigger engine.
All stop now need more material. Might have
a look at the engine see if I can get it running, I might have to strip it down
and rebuild it so I can get the best possible performance from the old Suffolk
engine.
January 3rd 2009
Tried to start the engine it wasn’t having
any of it, so out came the compression tester, removed spark plug pulled the
cord and almost no compression at all, so time to strip down the engine.
First off drained the engine oil, thick
black and smelly not a good sign, but I carried on anyway. Off came the sump,
then the big end bolts, removed the oil splasher and the bearing cap, it was in
surprisingly good condition with little sign of ware and no score marks at all.
Then undone the six head bolts and removed the head to find rather a lot of carbon build-up. The inlet valve was pretty
clean and did seat ok. The exhaust valve was a different story, covered in
carbon and heavily pitted and only just moved, the spring wasn’t closing the
valve, hence no compression.
Stripped out the valves reground them both
that took a couple of hours, searching for my grinding paste not to be found, I
knew I’d got some just couldn’t find it. Poo now what can I do. Then had a
thought, staring me in the face was a tin of old rubbing compound opened the
tin it was pretty coarse so I tried it.
It was working and slowly the inlet valve
began to bed in, next the exhaust valve, this wasn’t working at all, too much
pitting, so back to searching for the grinding paste
I eventually found it, so set to work again
still taking a while to bed in even with the paste but after half an hour or so
it was done.
That’s enough for today.
January 4th 2009
Washed out the inside of the engine and
valve guides with petrol to remove all traces of grinding paste covered all
internal parts with fresh engine oil refitted both valves oiling both the stems
first,
The old sump gasket, valve baffle plate
gasket and the carburettor gaskets were shot so made new ones from a card
folder and blue gasket sealer.
The head gasket was still in one piece so
just covered it in loctite blue liquid gasket and started to re assemble the
engine.
All back together now, stripped carburettor
to have a look inside. The reservoir was half full of ice (didn’t feel that
cold in my shed) removed the ice dried out the reservoir. The rest of the
carburettor looked ok so I put it back together and fitted it back on the
engine.
I emptied my lawn mower of petrol and
filled the tank for the Suffolk, the tap is
leaking on the Suffolk’s
tank so that will need sorting later but I just wanted to see if it would now
run. I let the reservoir fill then pulled the starter cord………….
Nothing not even a splutter removed the
plug it was dry and so was the chamber, no fuel mmm I thought, forgot about the
choke doh!!! Opened the choke pulled the starter cord a few more times and of
she went sounded like a Harley lol hadn’t fitted the baffle box but it was
running let it warm up closed the choke with a bit of adjustment of the mixture
screw it was ticking over on its own. It was great to hear it running and
revved up ok and only a little splutter that was sorted by adjusting the carb.
Time to pack up now.
31st January 2009
On Wednesday 28th got some more
3/4” steel through work, 4x2 meter lengths for £20.
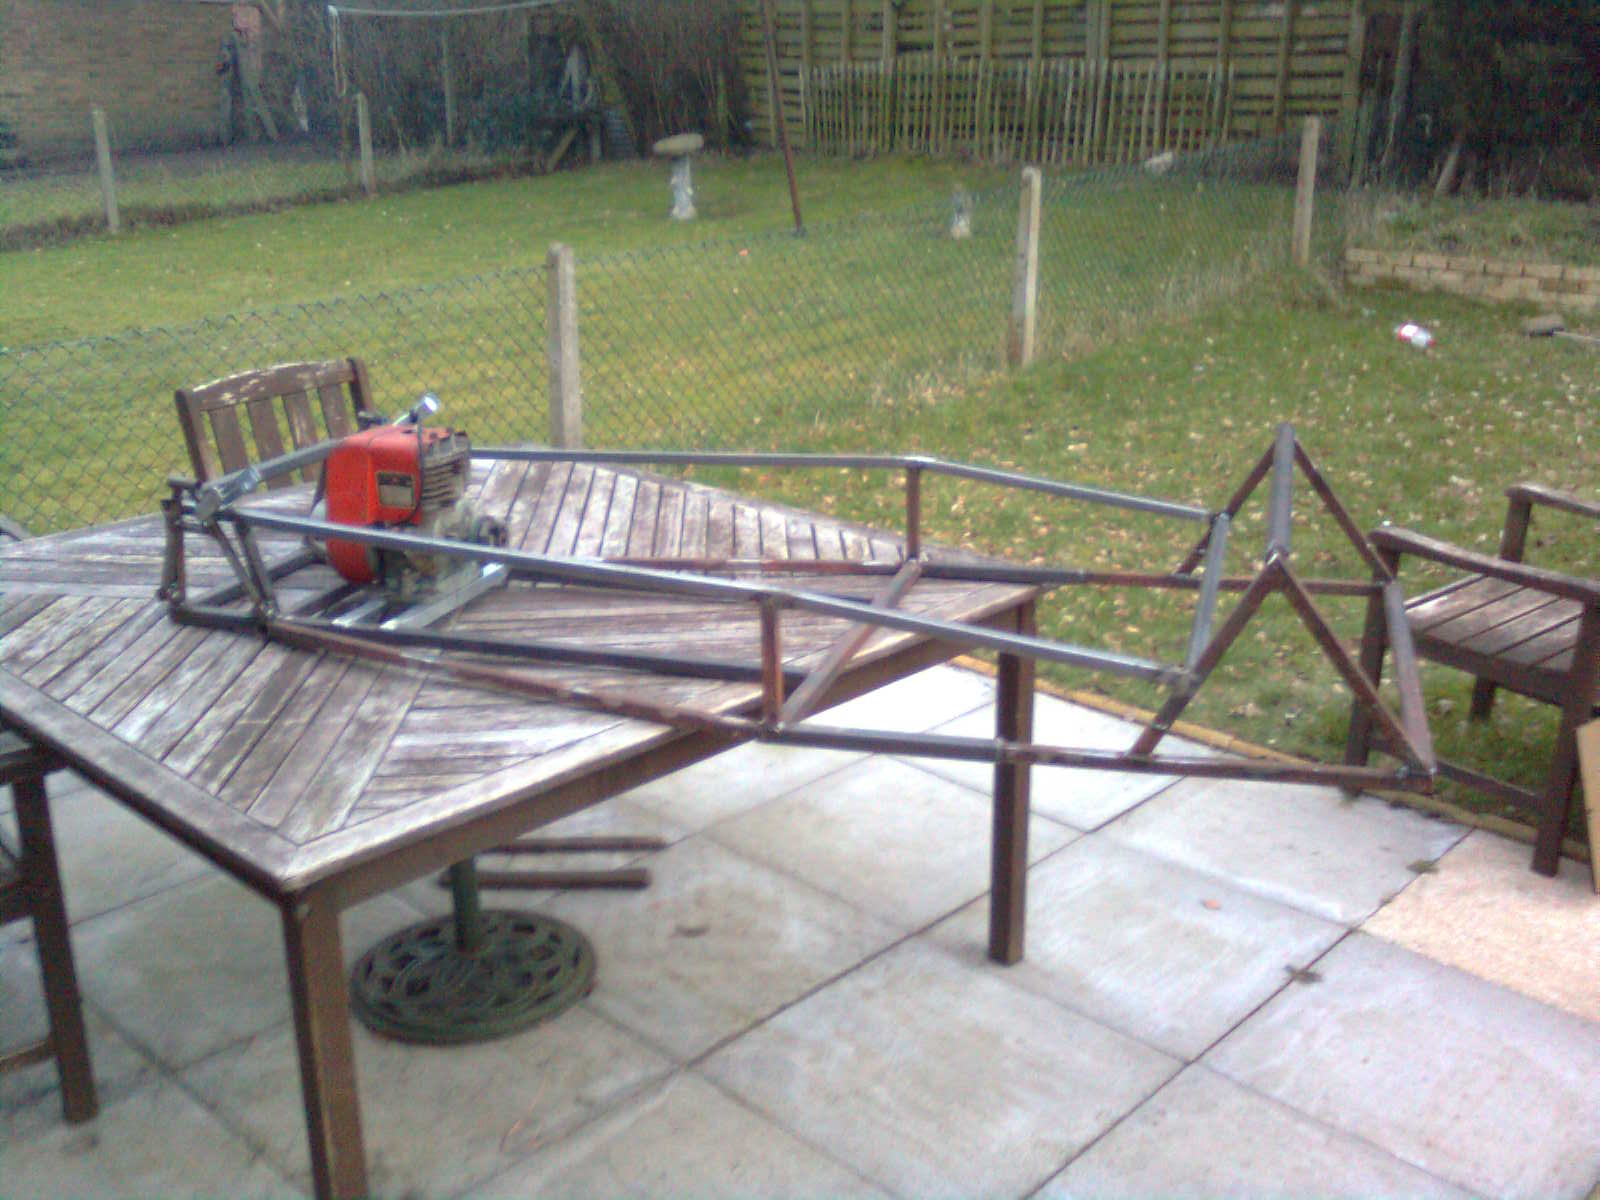
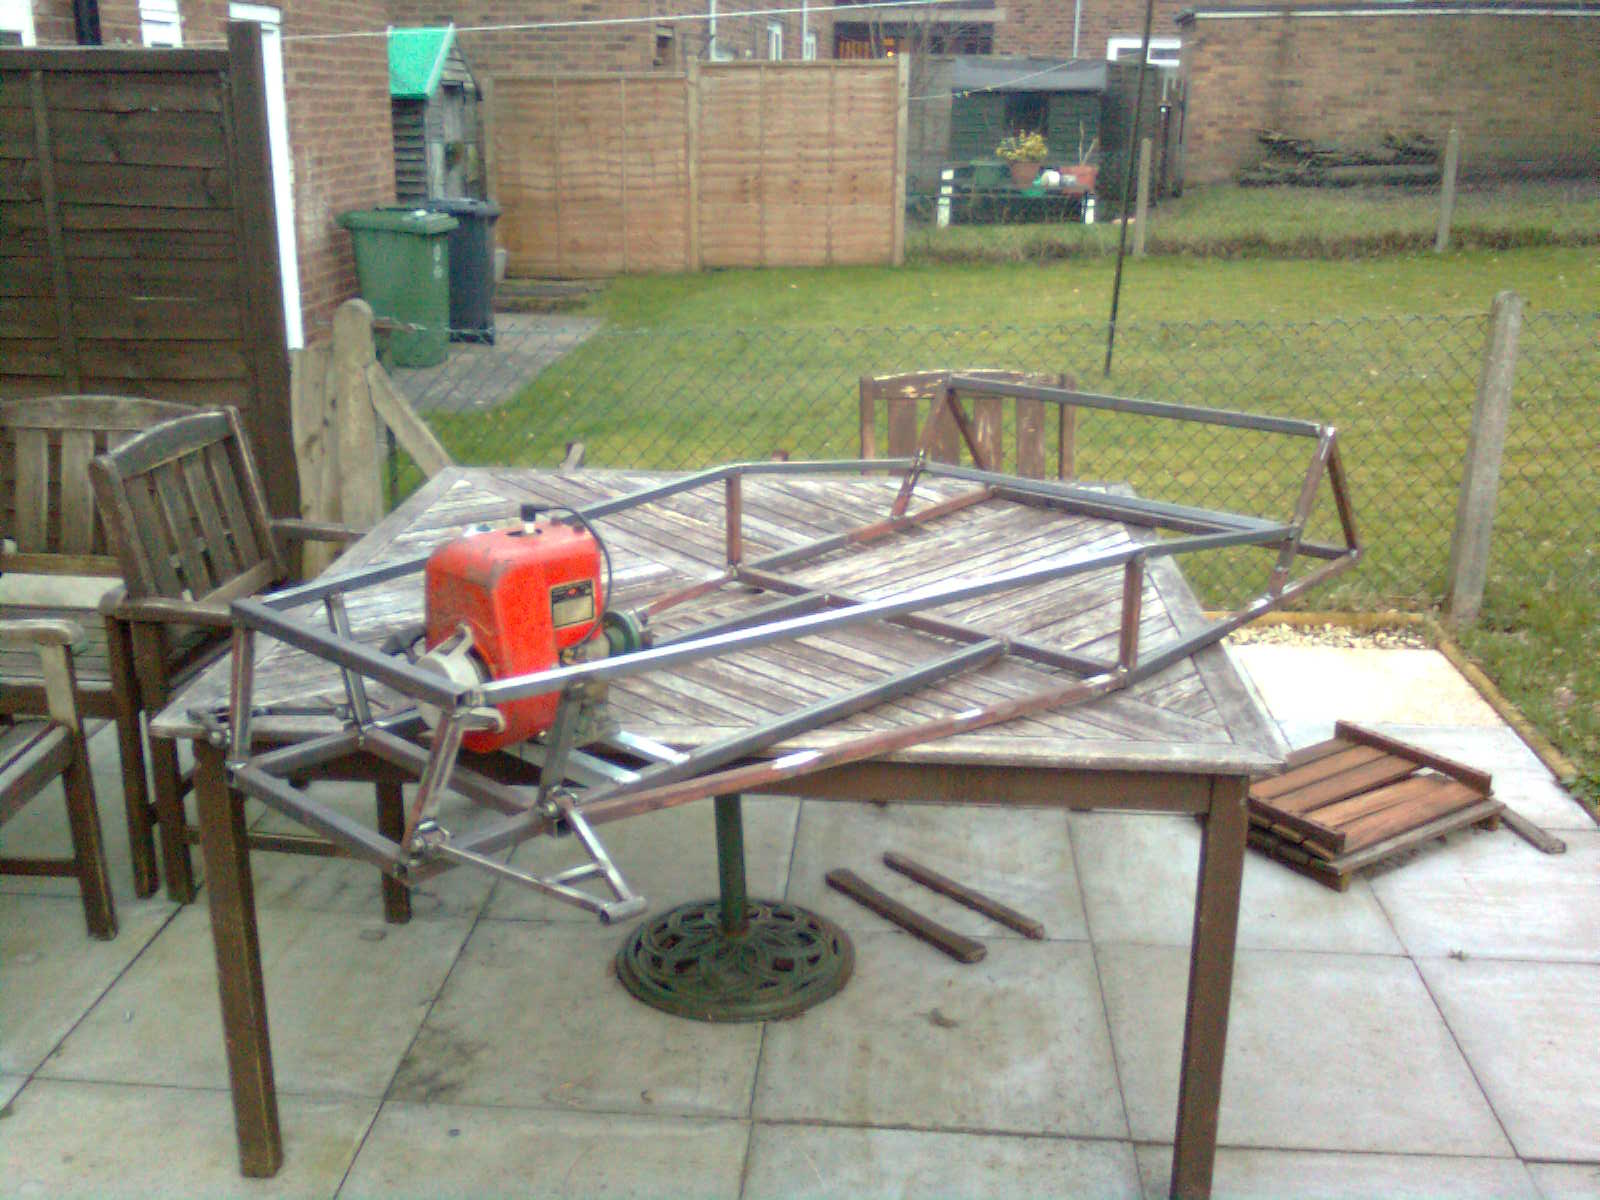
Cut the first length for the top half of the
chassis, welded it into place then the second for the section in front of the
rear wheels, should be round tube but using ¾ square instead. Then did the same
for the other side. Then I cut and fitted the vertical tubing for the rear mounting
parts of the front wishbones
Measured, positioned and welded the
mountings for the front lower wishbones and added the support for where the
back of the seats will be and to mount the transmission tunnel on to.
I think the engine will need to be moved
back a few inches for clearance of the body.